Display settings
To access the interface settings, click on .
-
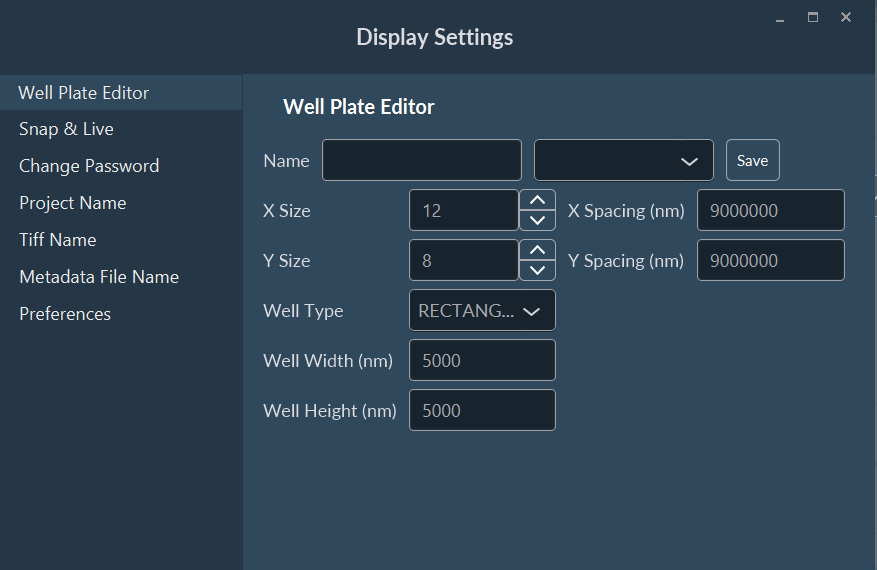
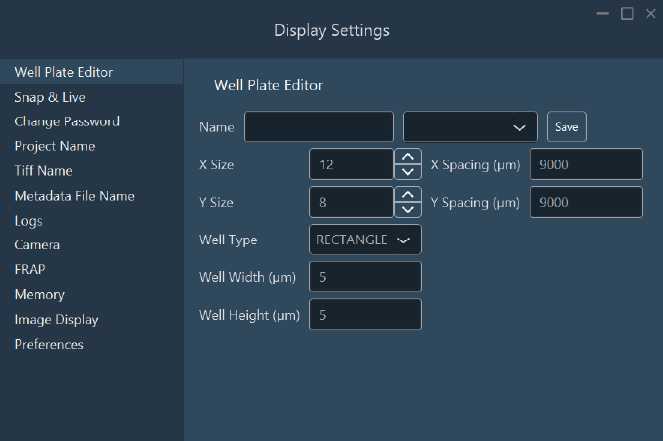
Edit your well plate in the Well PLate Editor .
-
Snap & Live: Set options for the snap and
live.
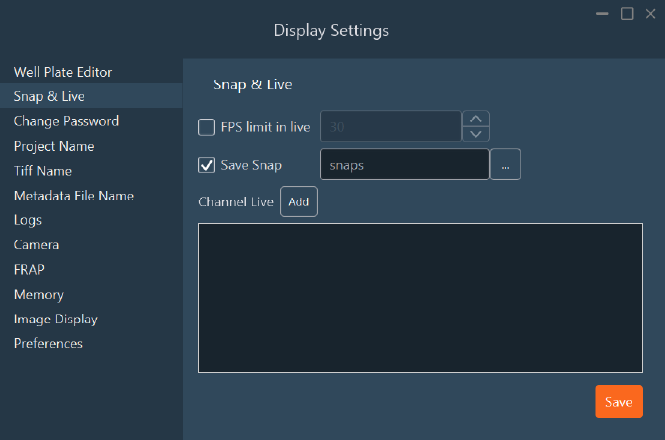
In this tab, you can:
- Set a frame rate (FPS) limit for Live mode.
- Change the directory where snapshots are saved.
- Define a default channel for Live mode.
-
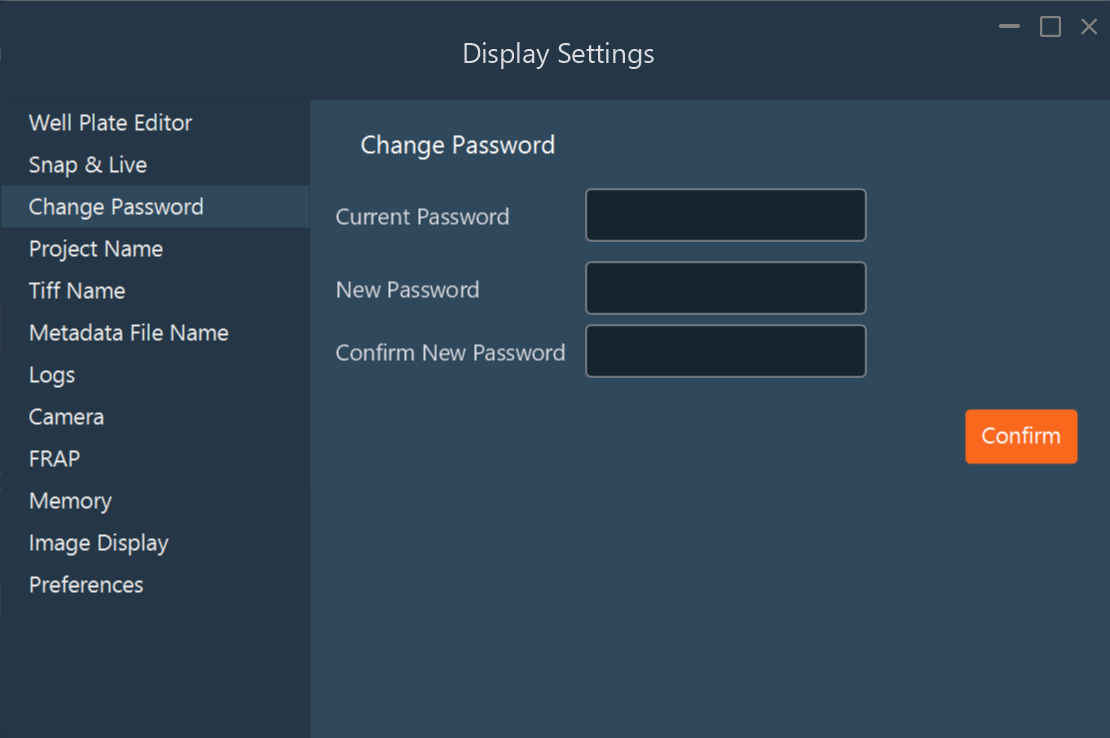
Change Password: Set or change the password to switch
from user mode to expert mode.
-
Project Name: Set the default name of your
projects.

-
Tiff Name: Change the format of the image saved.
For example, by default, one file is saved per position (including all other dimensions). However, you can choose to save the image as one file per position per channel instead.
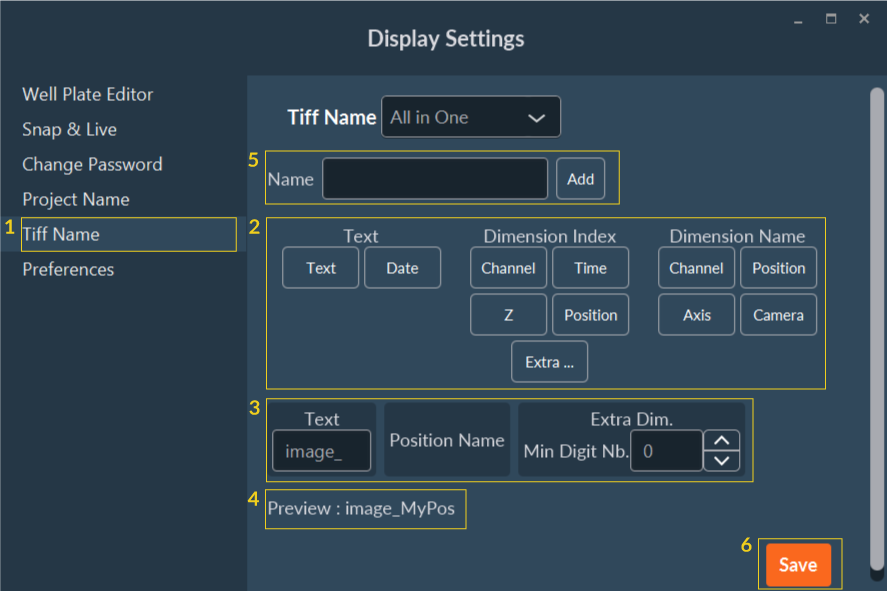
- Select the Tiff Name tab.
- Here are all the elements that can be automatically added to the standardized name of saved files. Add them by dragging and dropping them to the name construction tools below. Generally the name composition is the text + dimension name + dimension index. For example: if you have 3 positions, the name of your files will be image_pos1, image_pos2, image_pos3.
- Name construction tool that shows schematically the name of the future saved file.
- Name preview.
- Enter a name and click on the Add to save this new default name.
- When you like the name structure, click Save.
-
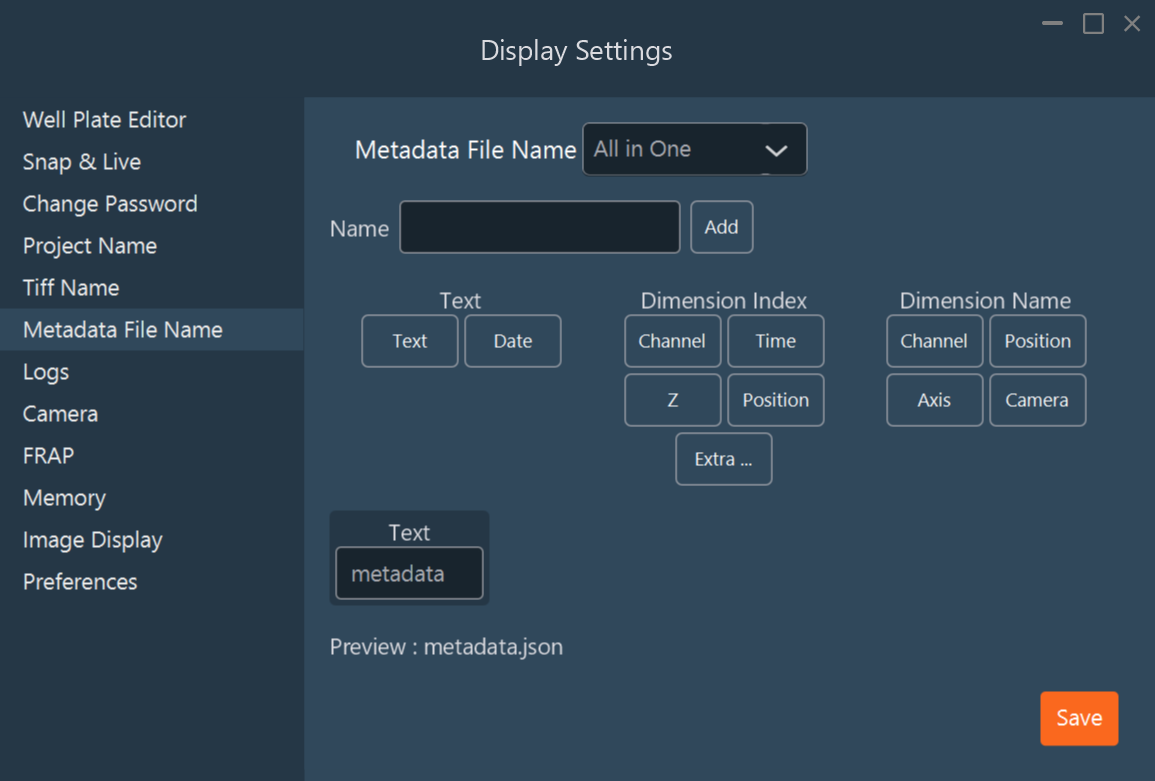
Metadata File Name: Change the format of metadata file
saved.
-
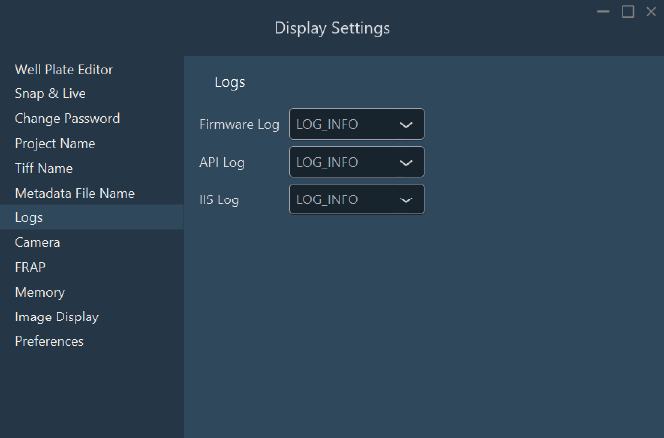
Logs: Modify logs level.
-
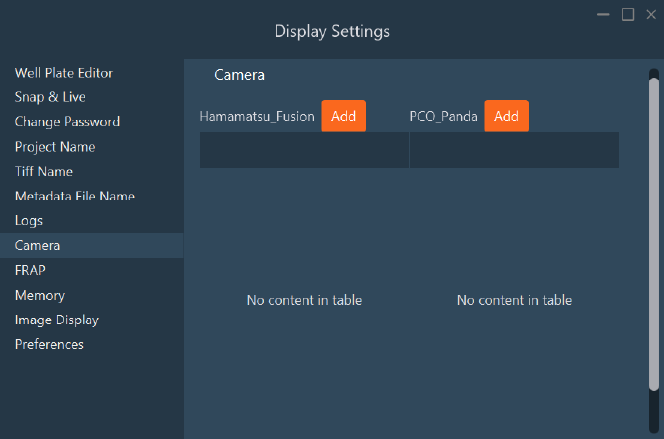
Camera: Find the camera installed on your system and add
another camera by clicking on the Add button
-
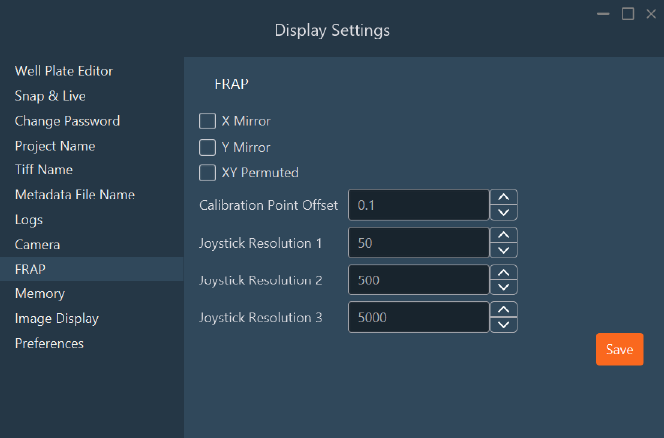
FRAP: Find the FRAP parameters and modify the
sensitivity of the virtual joystick during the FRAP calibration.
-
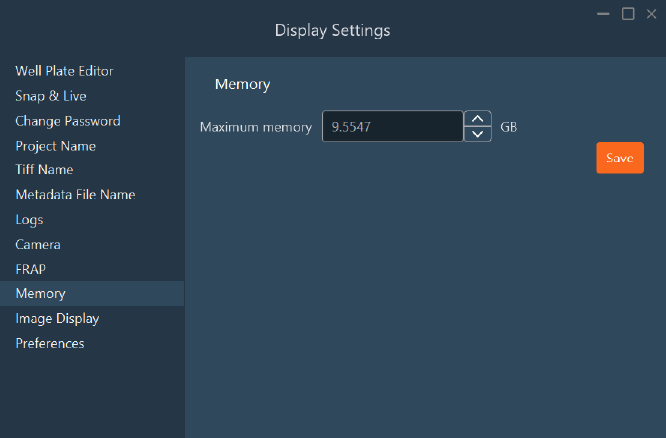
Memory: assign the memory for the Inscoper
Software.
-
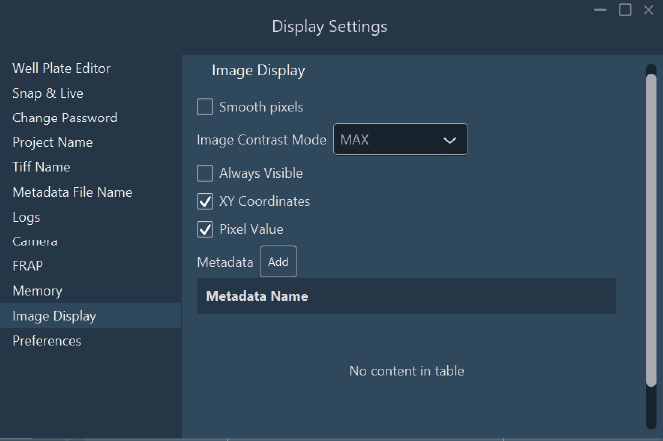
Image Display: Select which setting you want to
apply
-
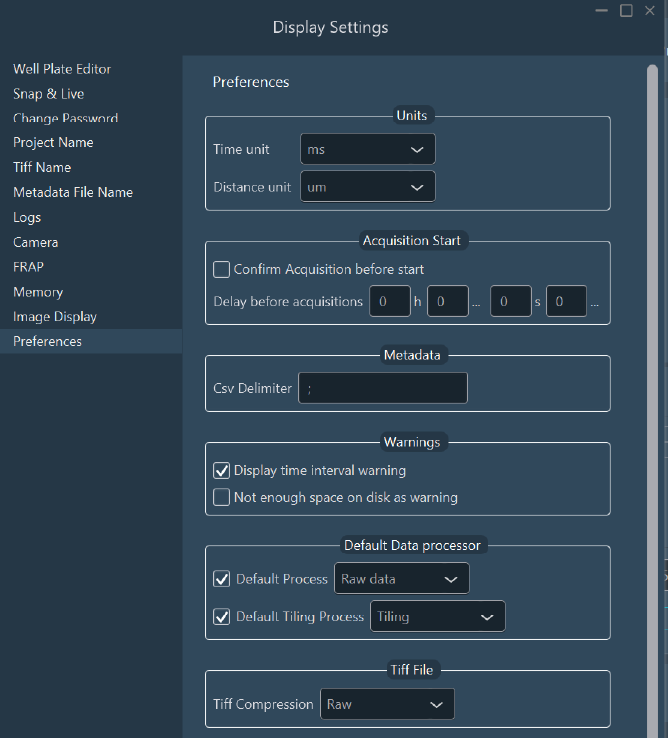
Preferencies: select and set up some other parameters
(measuring units, acquisition delay, warnings, etc.).