Display settings
To access the interface settings, click on .
-
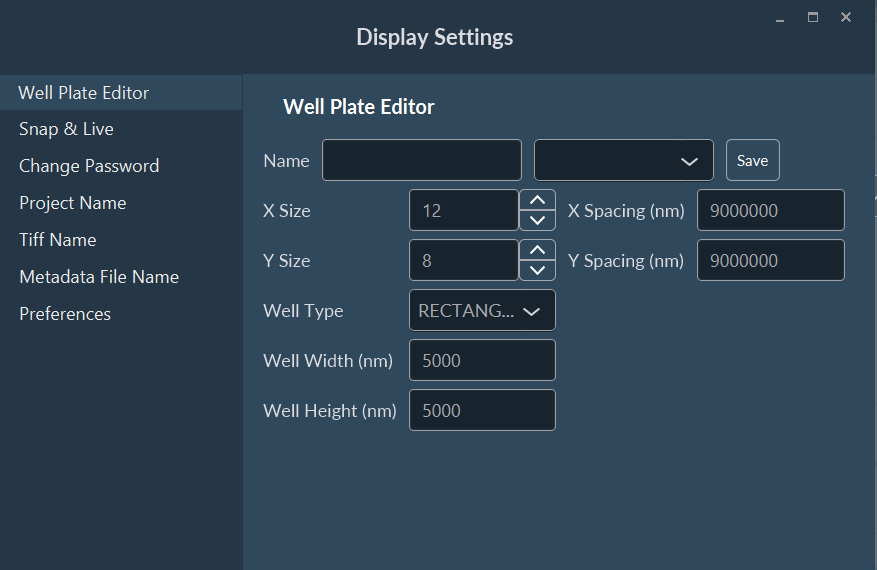
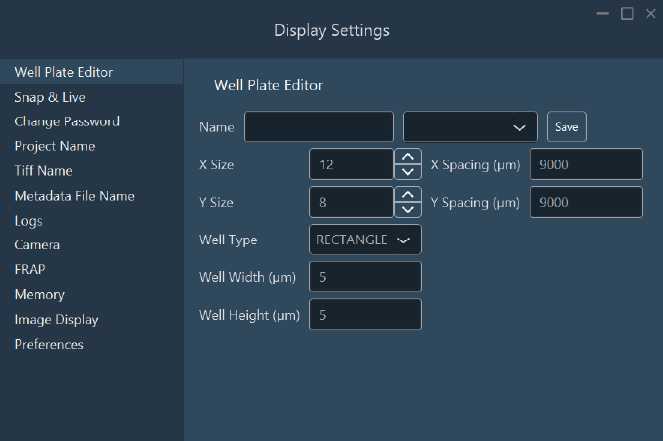
Edit your well plate in the Well PLate Editor .
-
Snap & Live: Set options for the snap and
live.
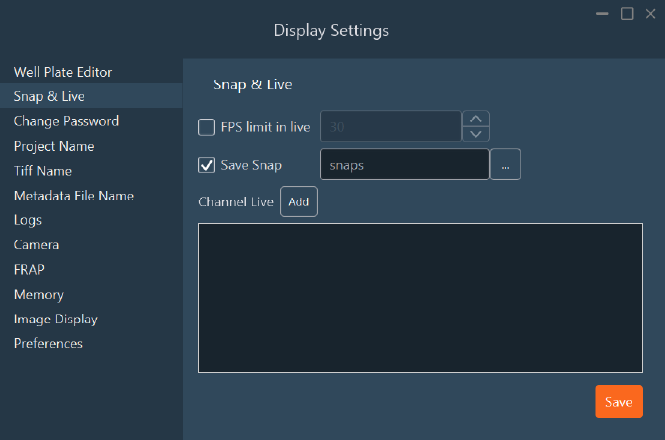
In this tab, you can:
- Set a frame rate (FPS) limit for Live mode.
- Change the directory where snapshots are saved.
- Define a default channel for Live mode.
-
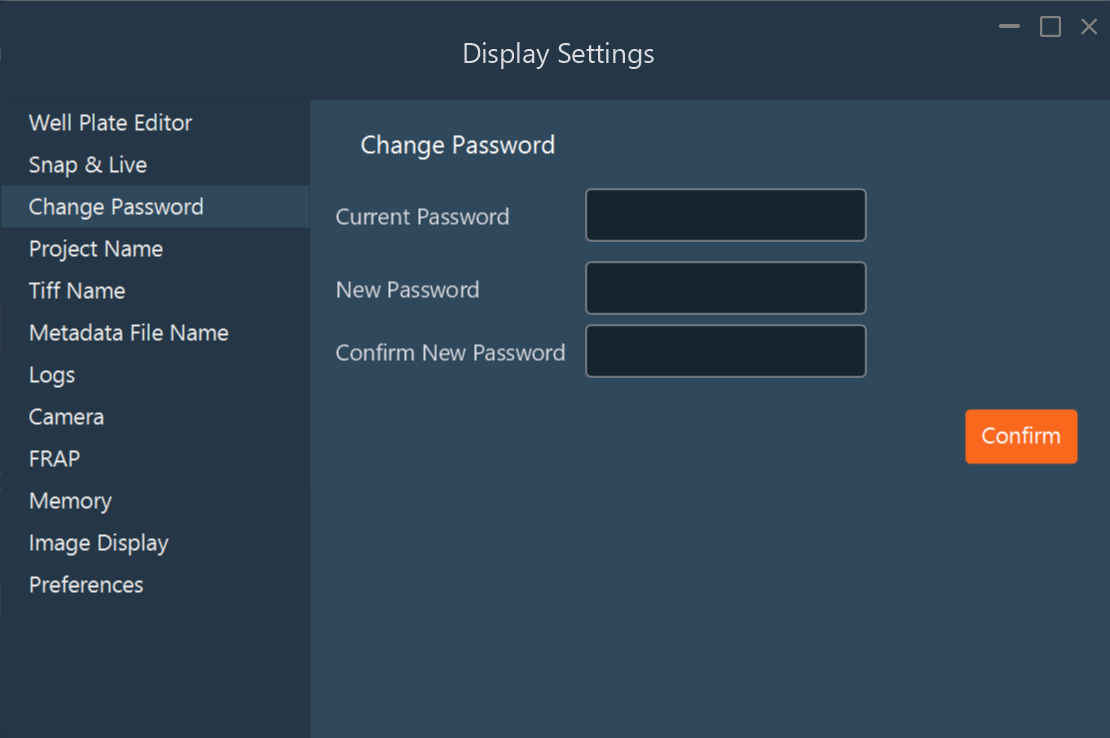
Change Password: Set or change the password to switch
from user mode to expert mode.
-
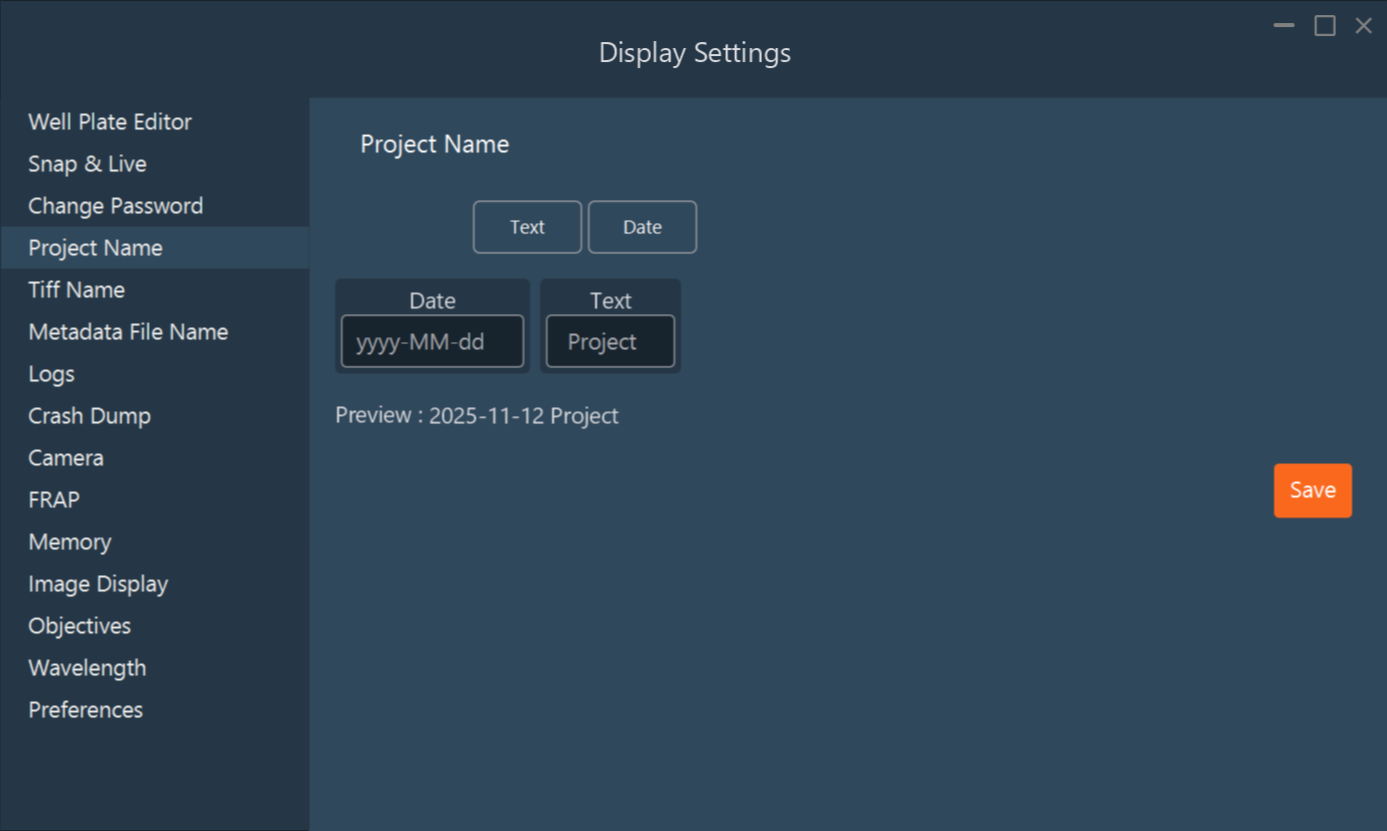
Project Name: Set the default name of your
projects.
-
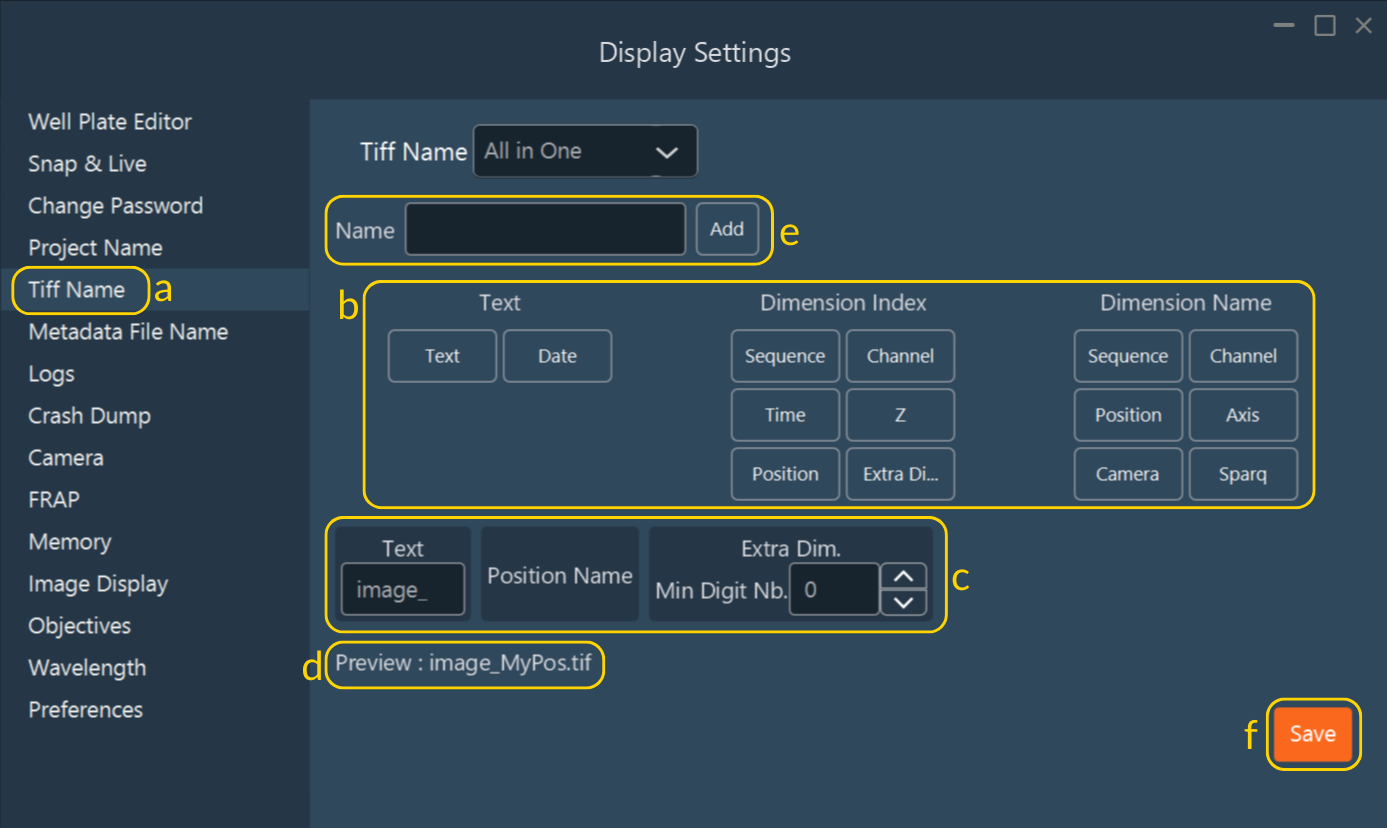
Tiff Name: Change the format of the image saved.
For example, by default, one file is saved per position (including all other dimensions). However, you can choose to save the image as one file per position per channel instead.
-
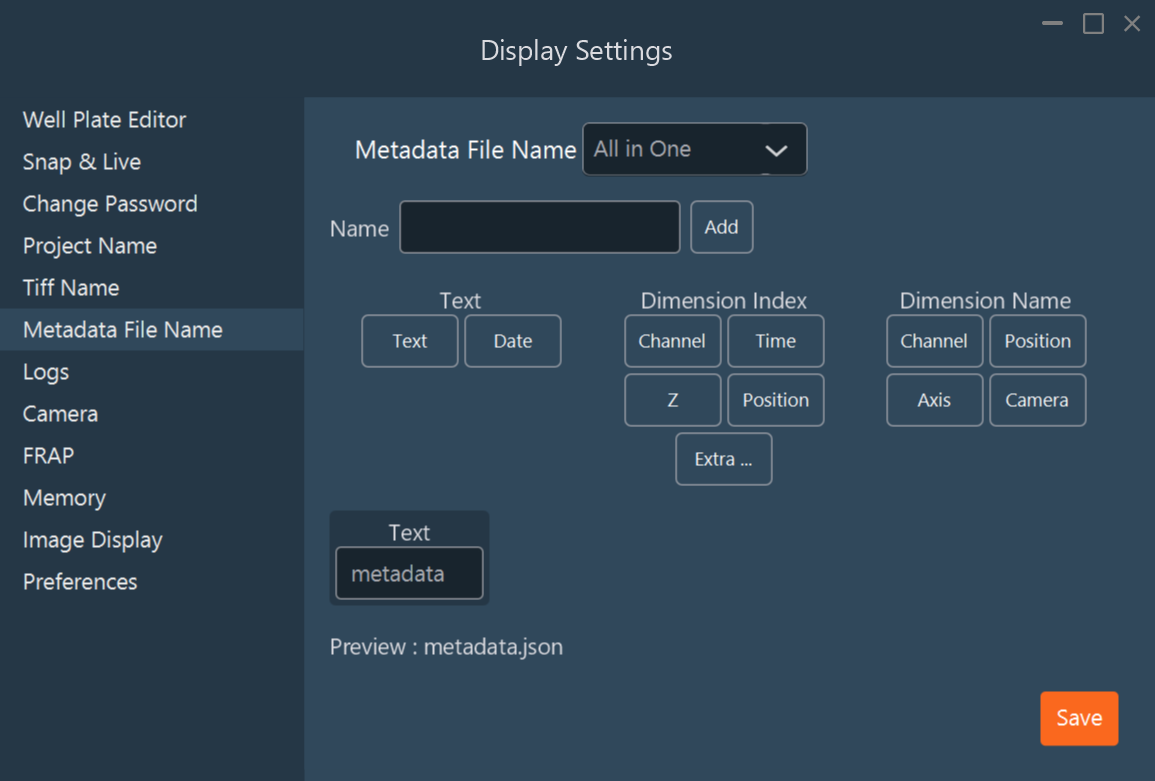
Metadata File Name: Change the format of metadata file
saved.
-
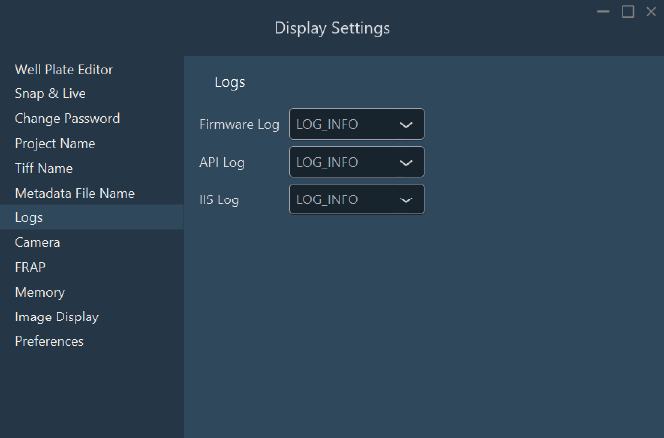
Logs: Modify logs level.
-
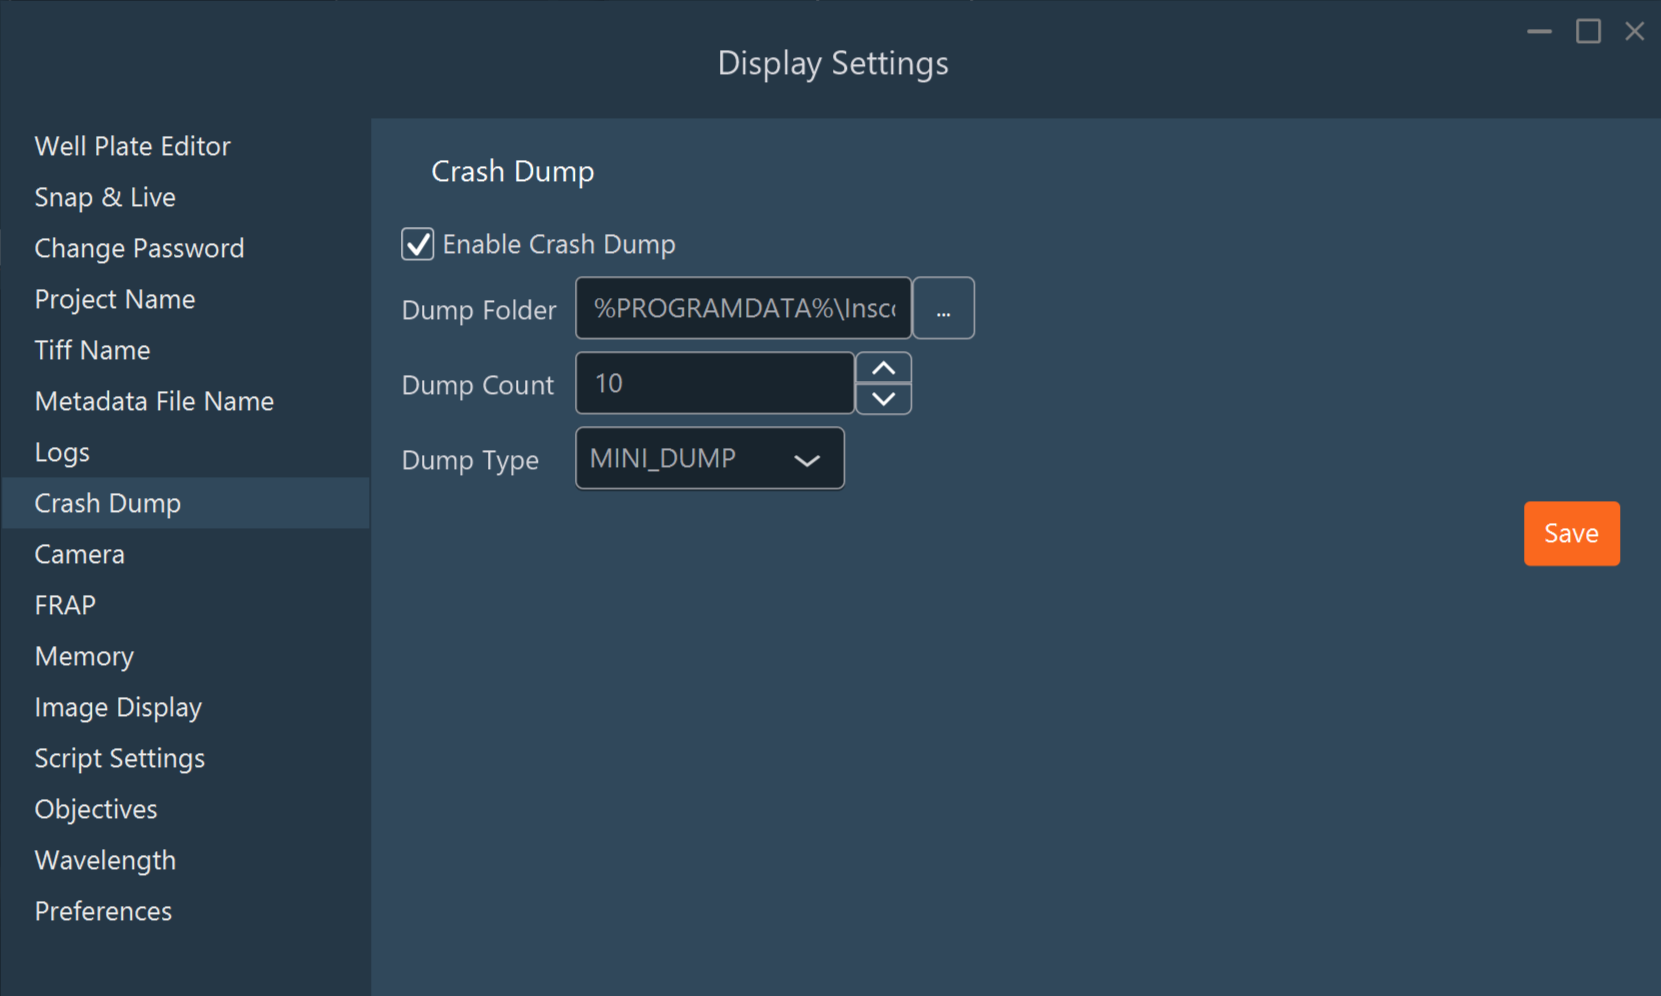
Crash Dump: Enable the creation of a Windows crash
report if IIS crashes.
- Dump folder is the folder name where the report will be saved.
- Dump count: The maximum number of reports retained (10 by default, the oldest are automatically deleted).
- Dump Type:
- MINI_DUMP (by default): Saves only the essential information about the crash (sufficient in most cases).
- FULL_DUMP: Saves all memory used by IIS (takes longer to generate and uses more disk space).
-
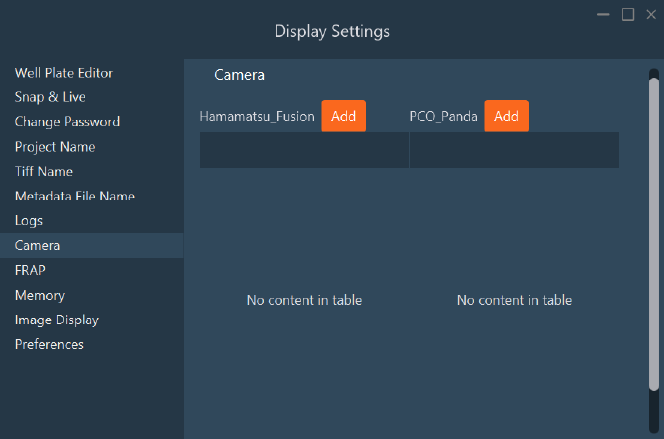
Camera: Find the camera installed on your system. If you
have multiple cameras and need to rotate to see the same field of view, click
the Add button to
select the desired rotation.
-
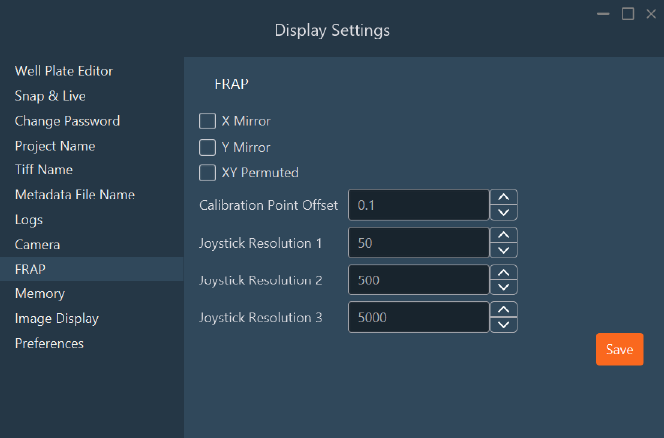
FRAP: Find the FRAP parameters and modify the
sensitivity of the virtual joystick during the FRAP calibration.
-
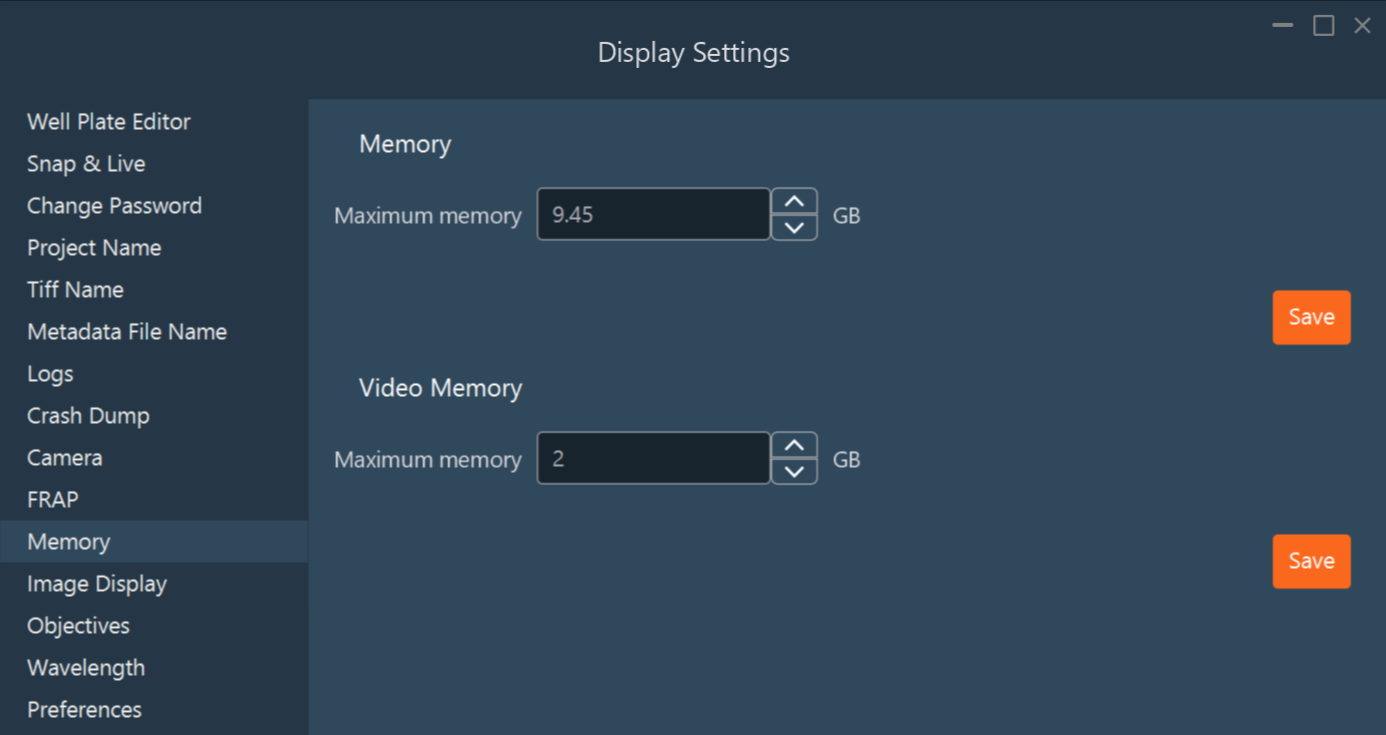
Memory: Assign memory for the Inscoper software. By
default, 2 GB is allocated to video memory, and 60% of the available RAM is
allocated to the software.
-
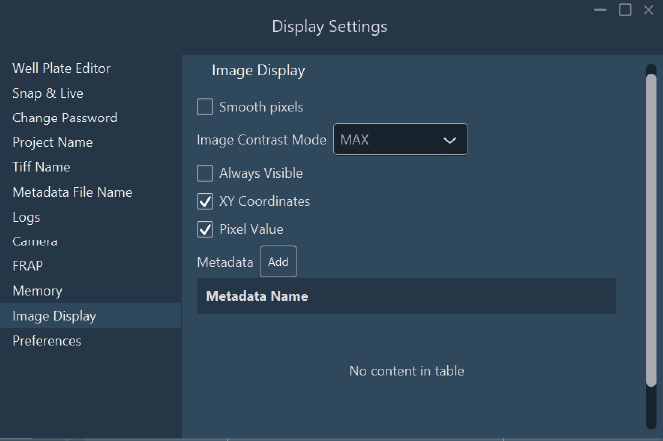
Image Display: Select which setting you want to
apply
-
Objectives: Indicate the numerical aperture and
refractive index of your objective. This information is used for the Nyquist
calculation and other mathematical computations.

-
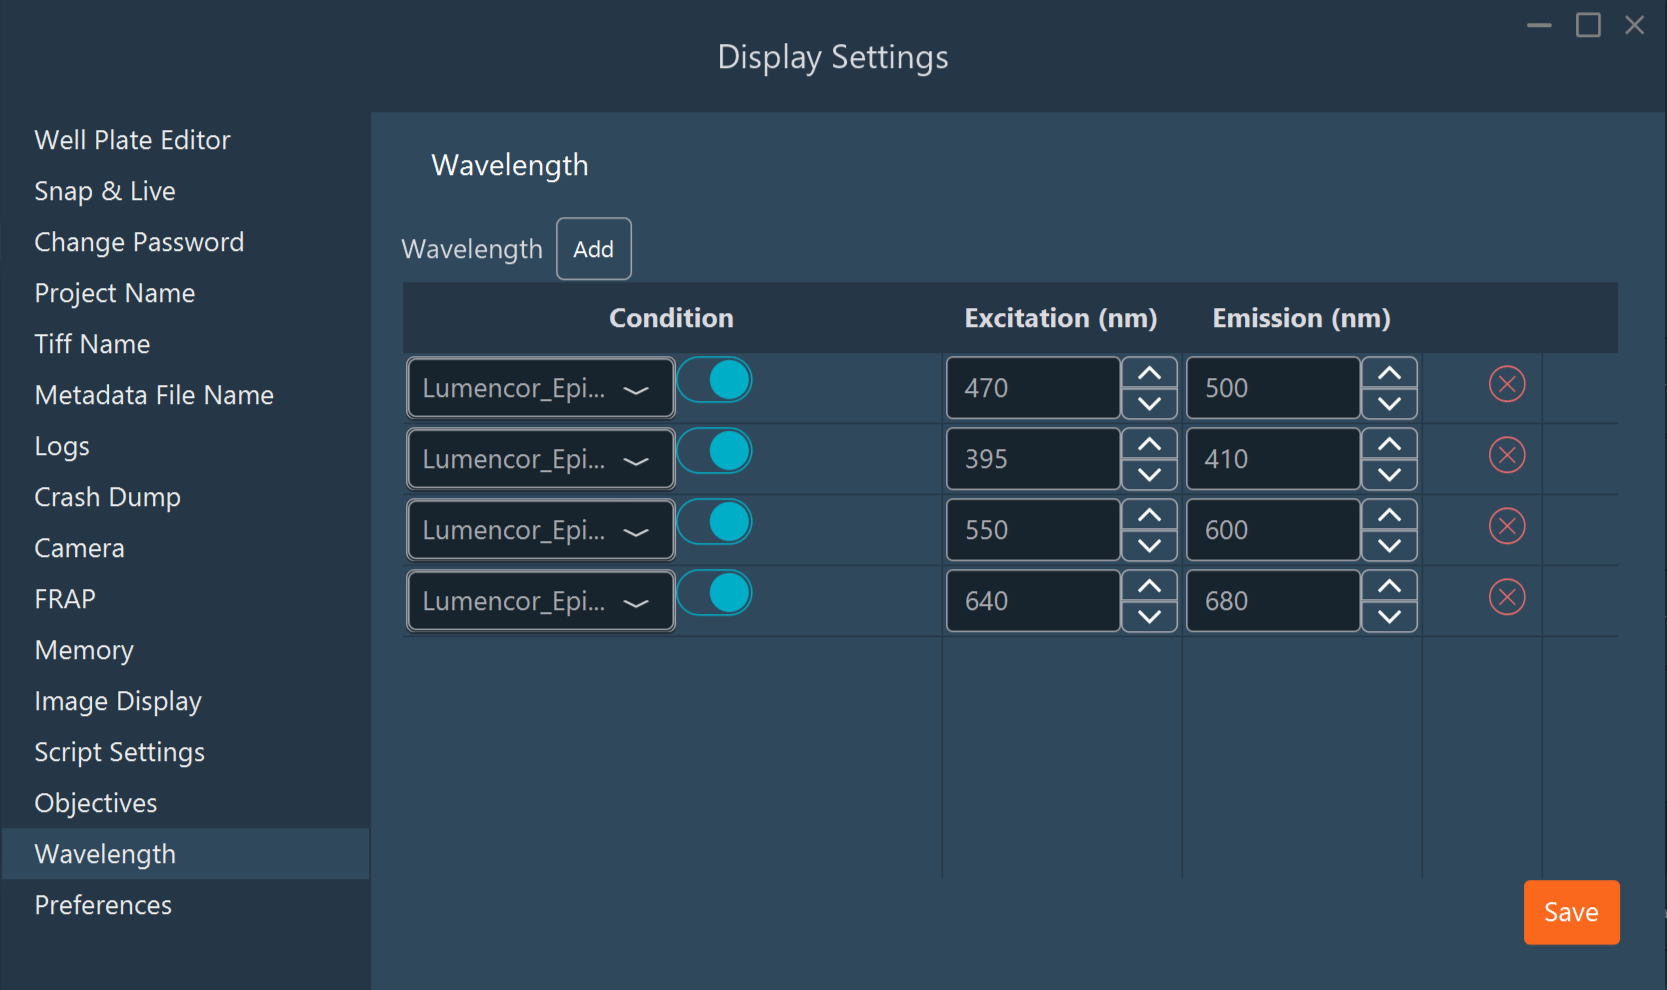
Wavelength: Indicate the excitation and emission
wavelength of your light source or laser. This information is used for shading
correction, Nyquist calculation, and various processes, and will also be added
to the metadata.
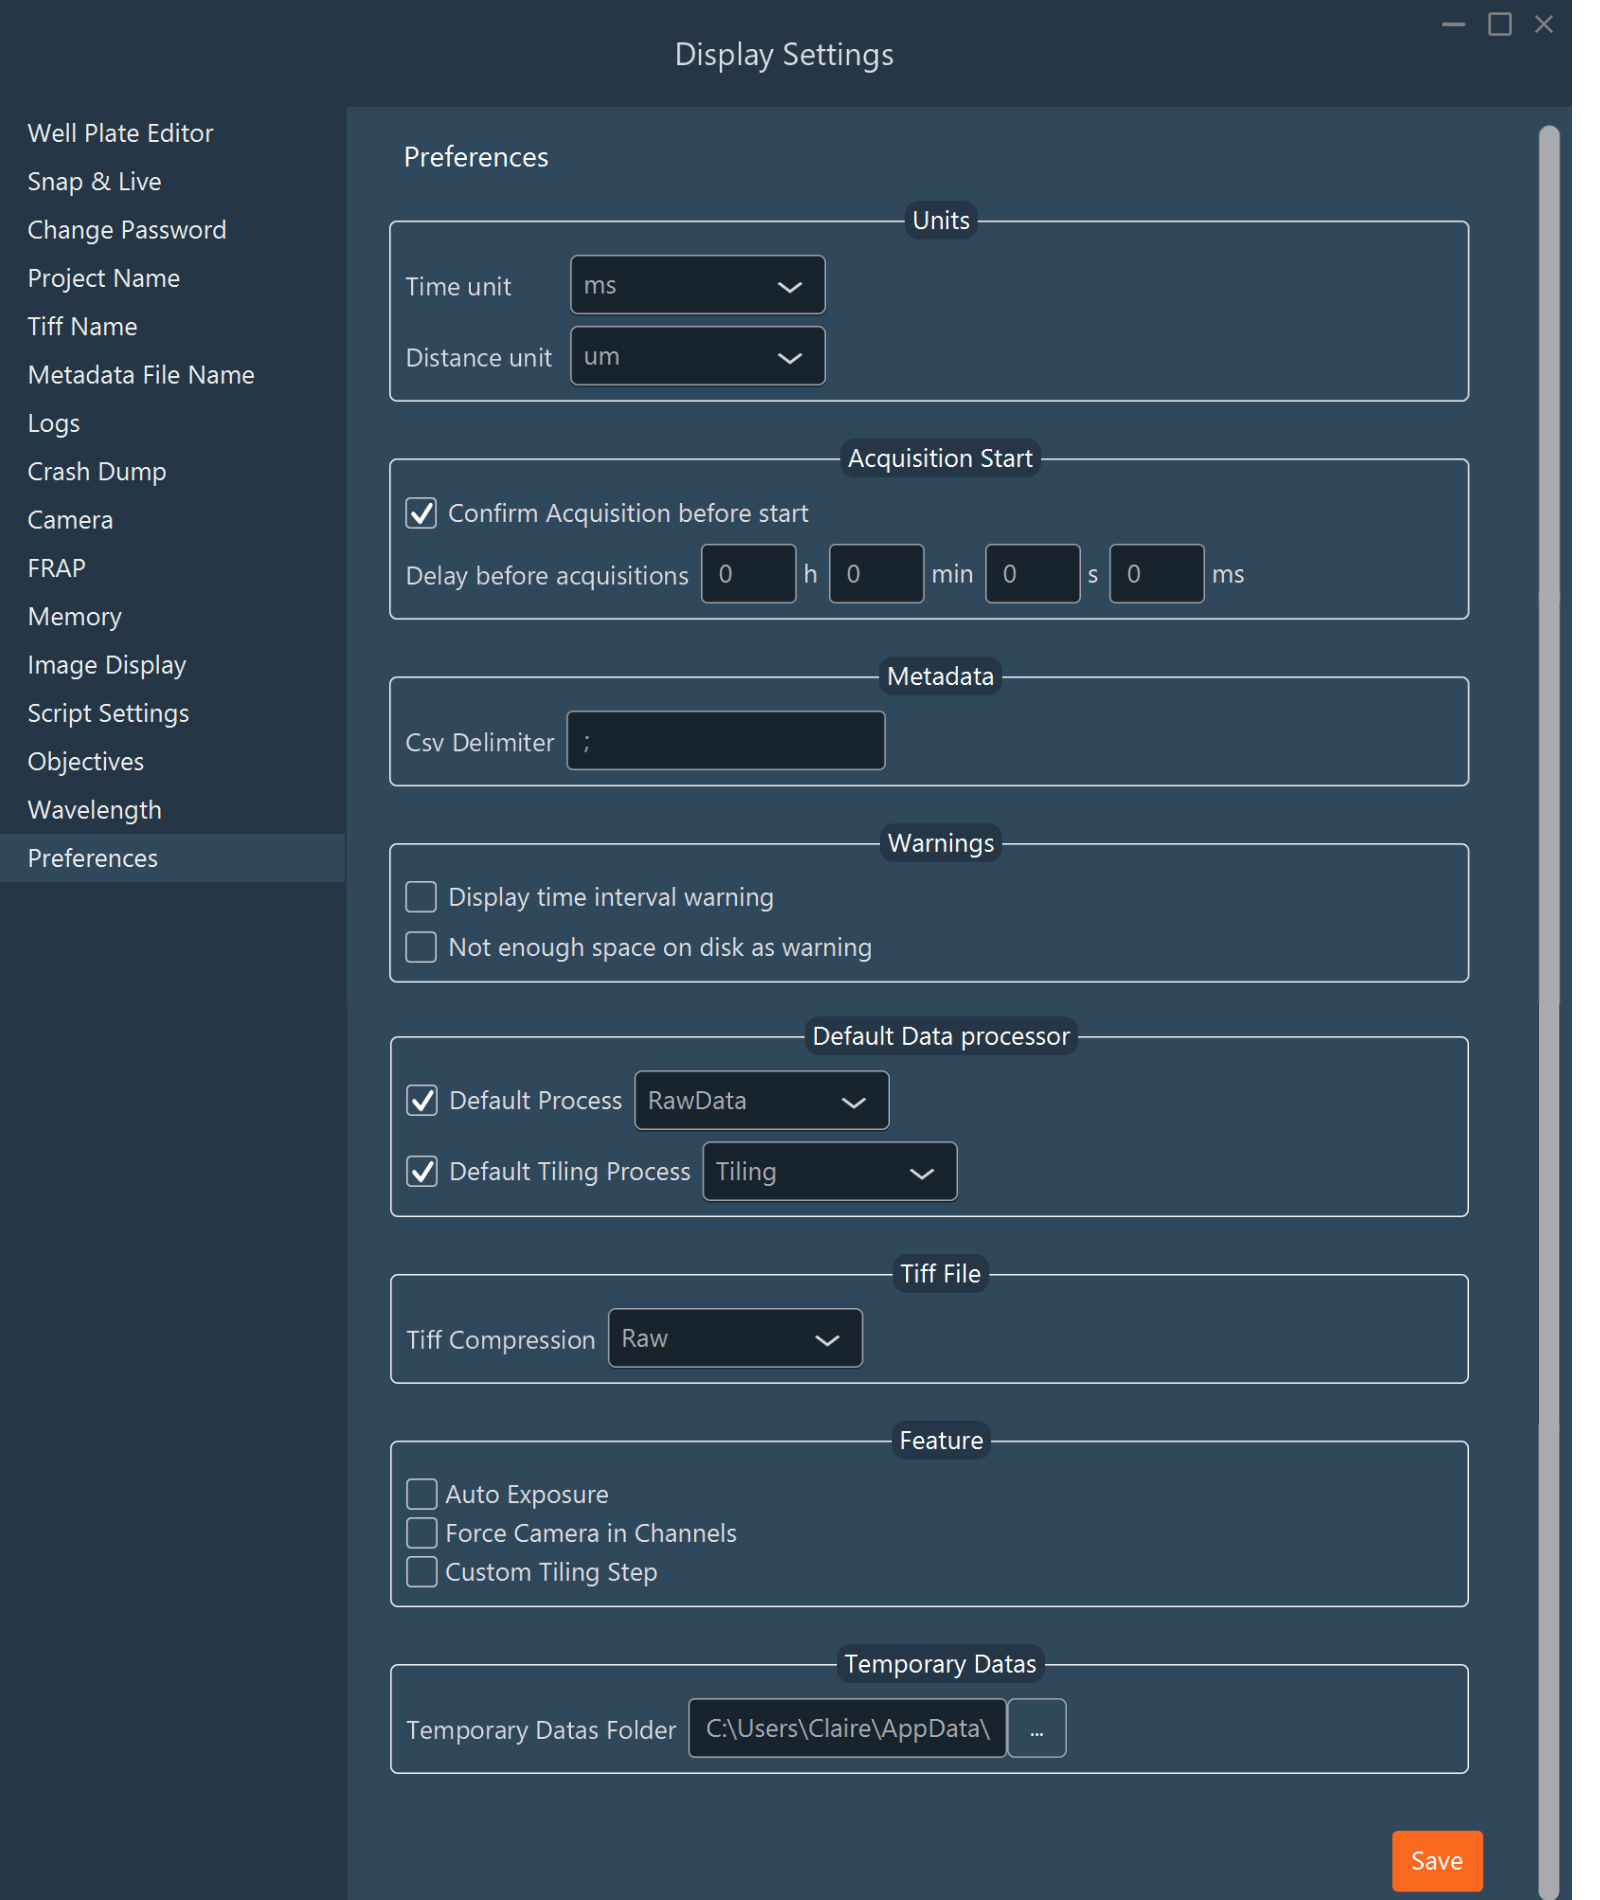
-
Preferences: Select and set up some other parameters
(measuring units, acquisition delay, warnings, etc.).
- Auto exposure: Allows access to the auto-exposure button.
- Force camera in channels: Useful when using multiple cameras or a Maico module. When this feature is enabled, the selected camera is saved within the channel.
- Custom tiling step: When enabled, you can specify a custom overlap (in µm) for your tiling acquisitions.