Devices setup
When you create your configuration, all the subsequent levels are automatically
created [Devices, Connections, Recipes, I.S. Inscoper] in the configuration
section.
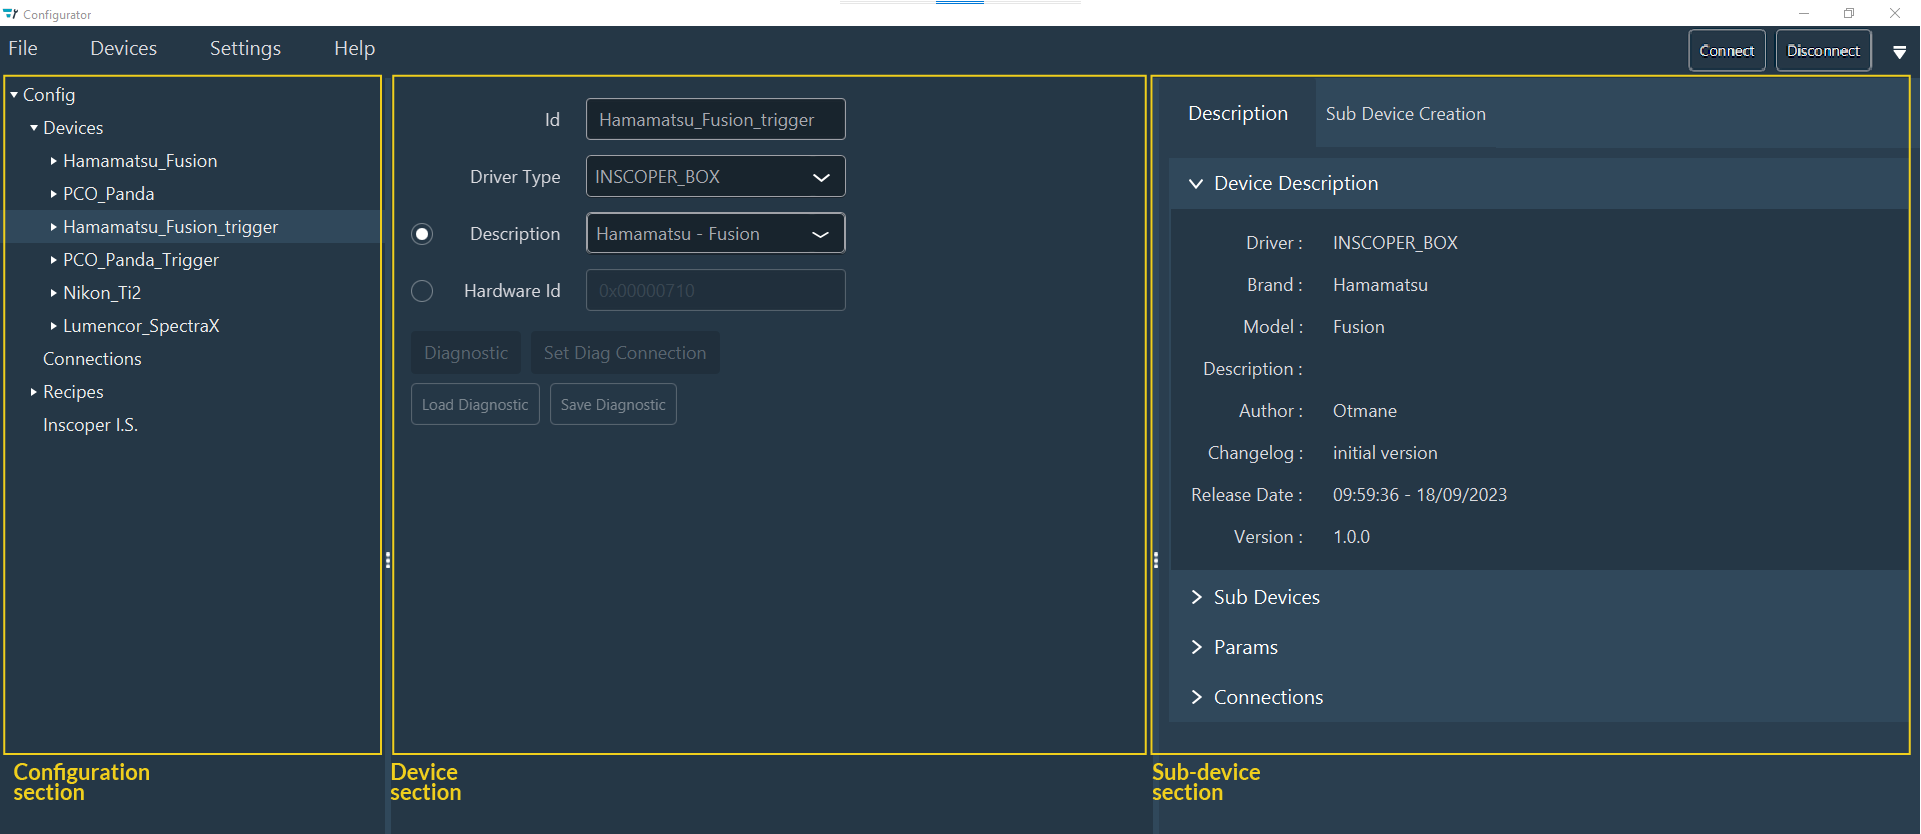
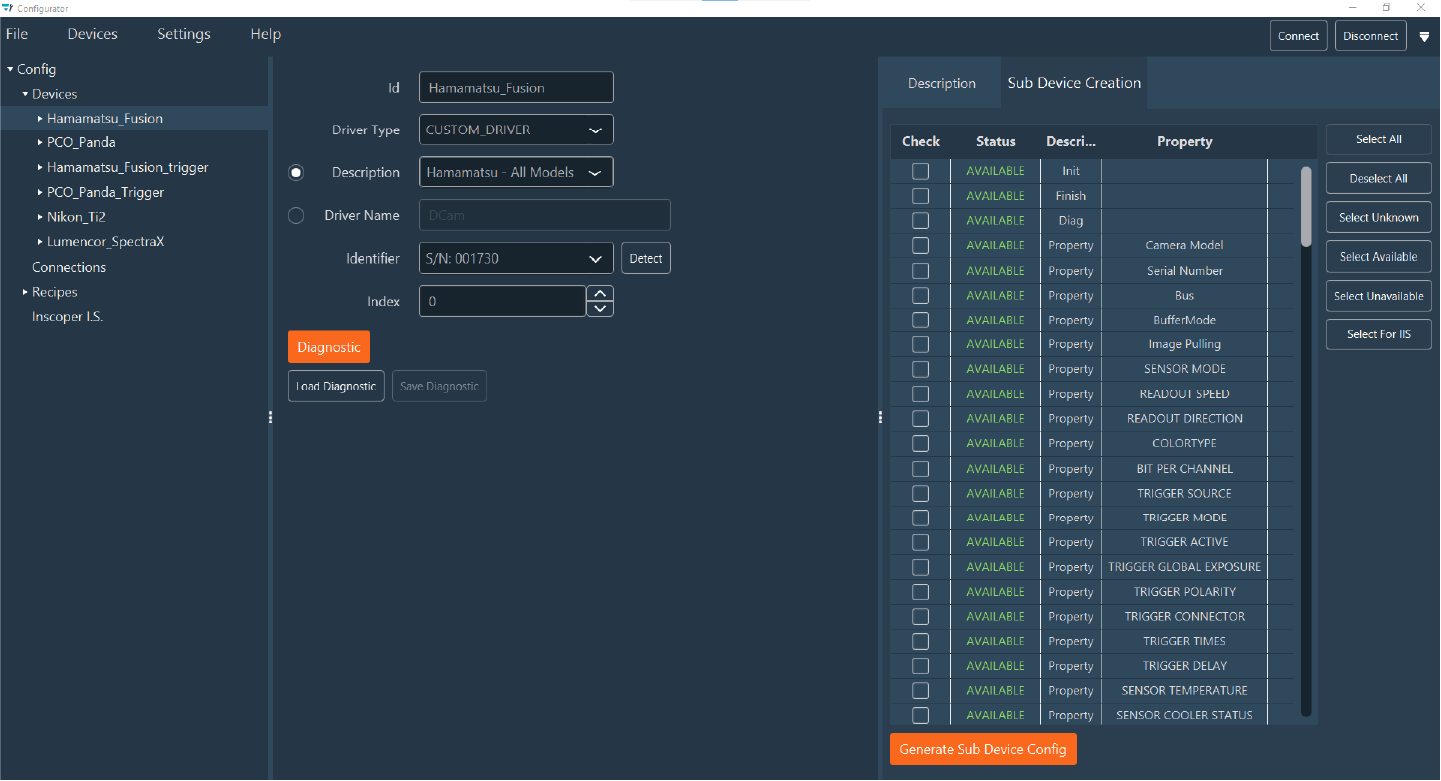
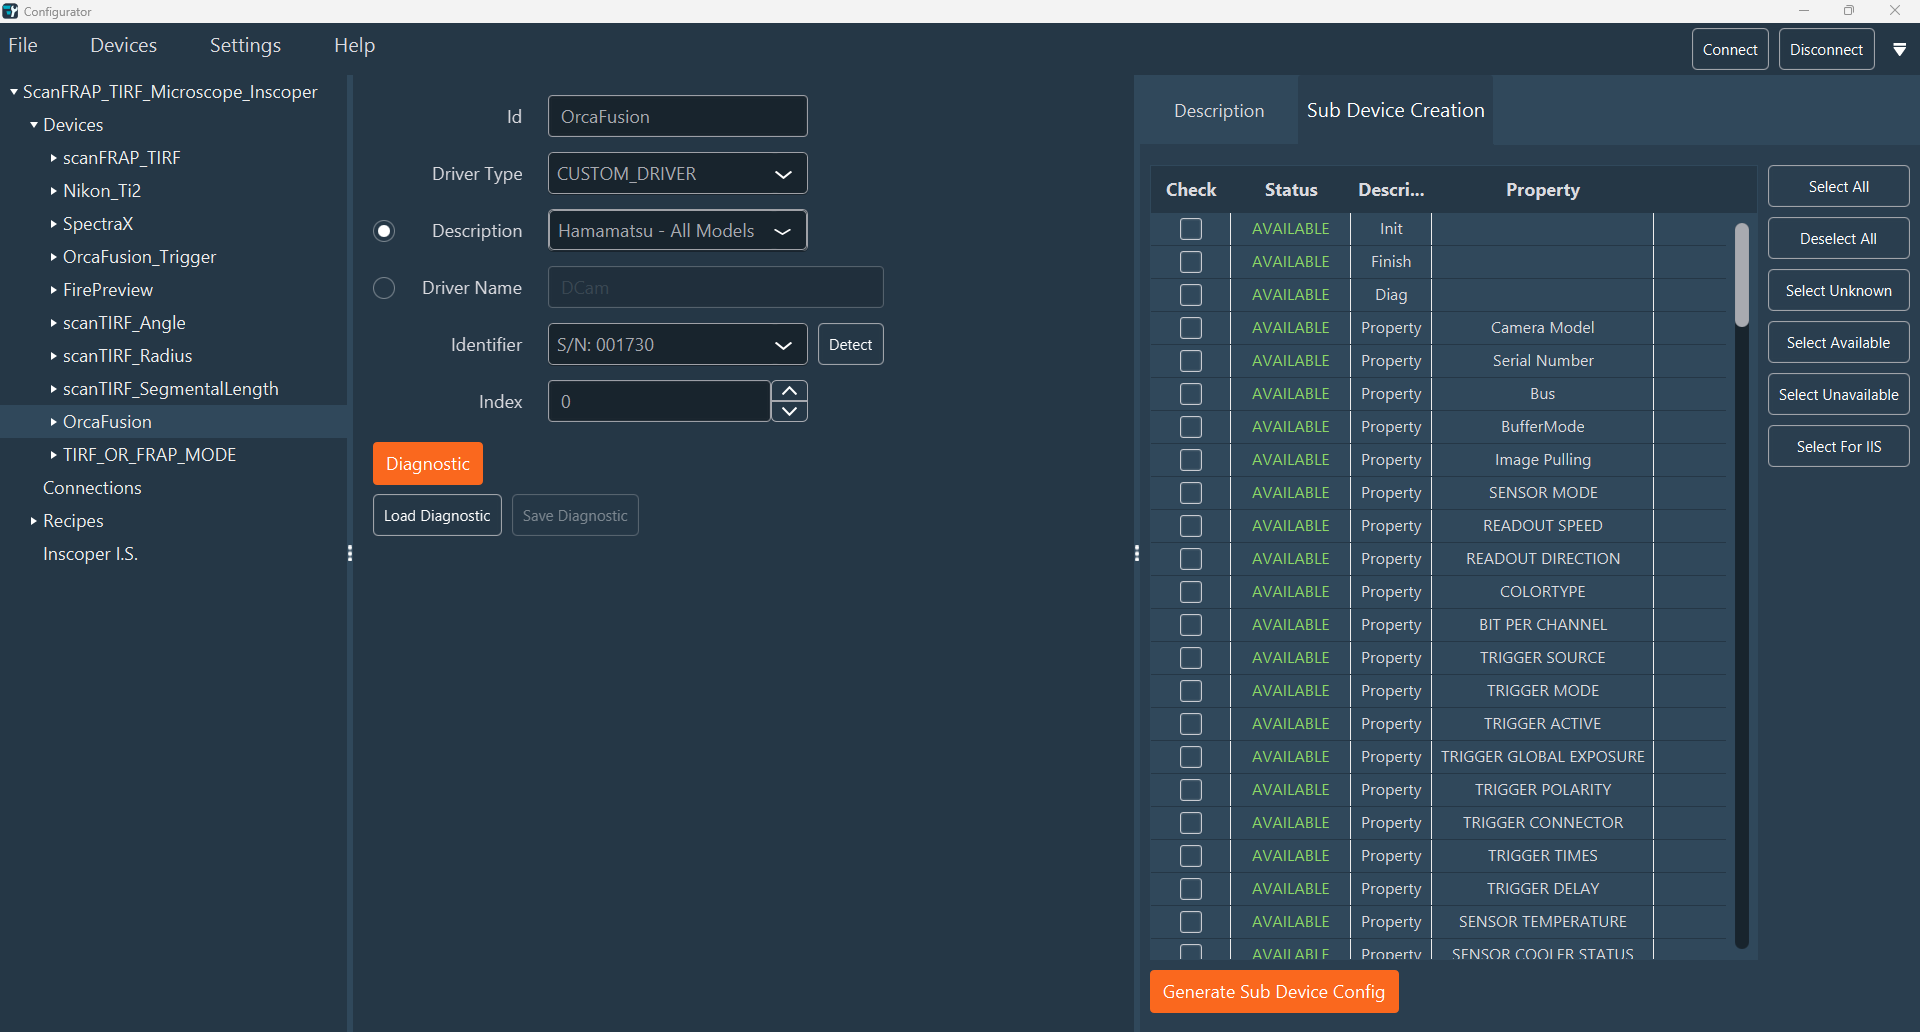
In this stage, the main Configurator window is divided into 3 parts:
- Configuration section (already explained here)
- Device section: where you will configure all the devices
- Sub Device section: where you will create Sub Devices for the device. This section has two tabs: one for creating Sub Devices and the other for the device description.
-
Add Devices to Your Configuration
For this, click the Add New Device button OR right-click on the Devices in the Configuration section and click Add Device.
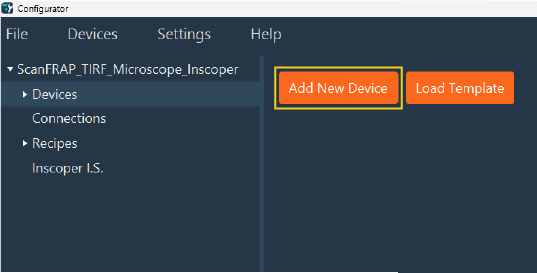 As a result, you'll see additional fields appear with the parameters to be filled in for this device and its Sub Devices.
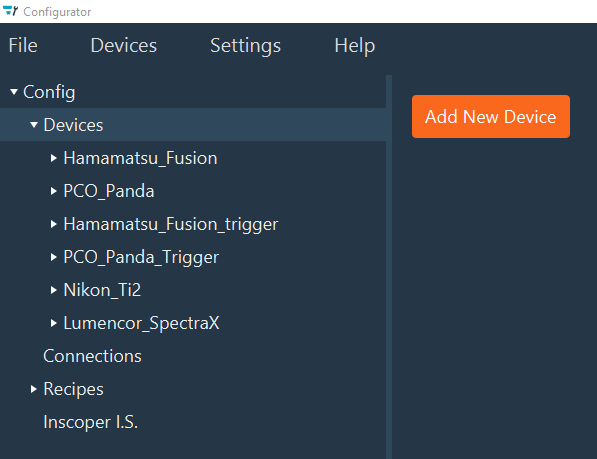
-
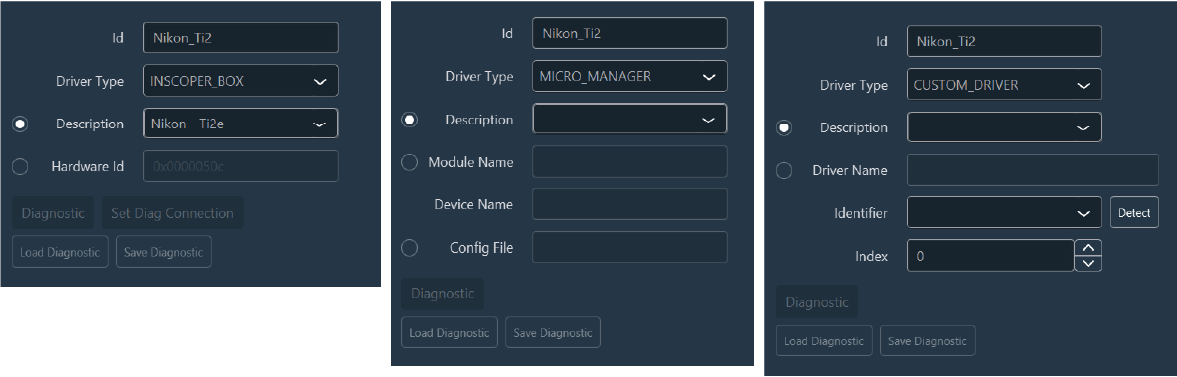
Configure your device. Here, you can:
-
Before clicking on Diagnostic be sure that the device is
connected to the system (either to the computer or the Inscoper Box). This
function retrieves additional information beyond the initial description loaded
via Reload Devices (brand, model, author, changelog). For
Custom and Micro-Manager drivers, Diagnostic requests the device to provide its
list of properties. It also updates the status of Sub Devices (Available,
Unavailable, or Unknown) and may refine associated constraints.
All the information about the device will be found in the Description tab of the Sub Device section.
-
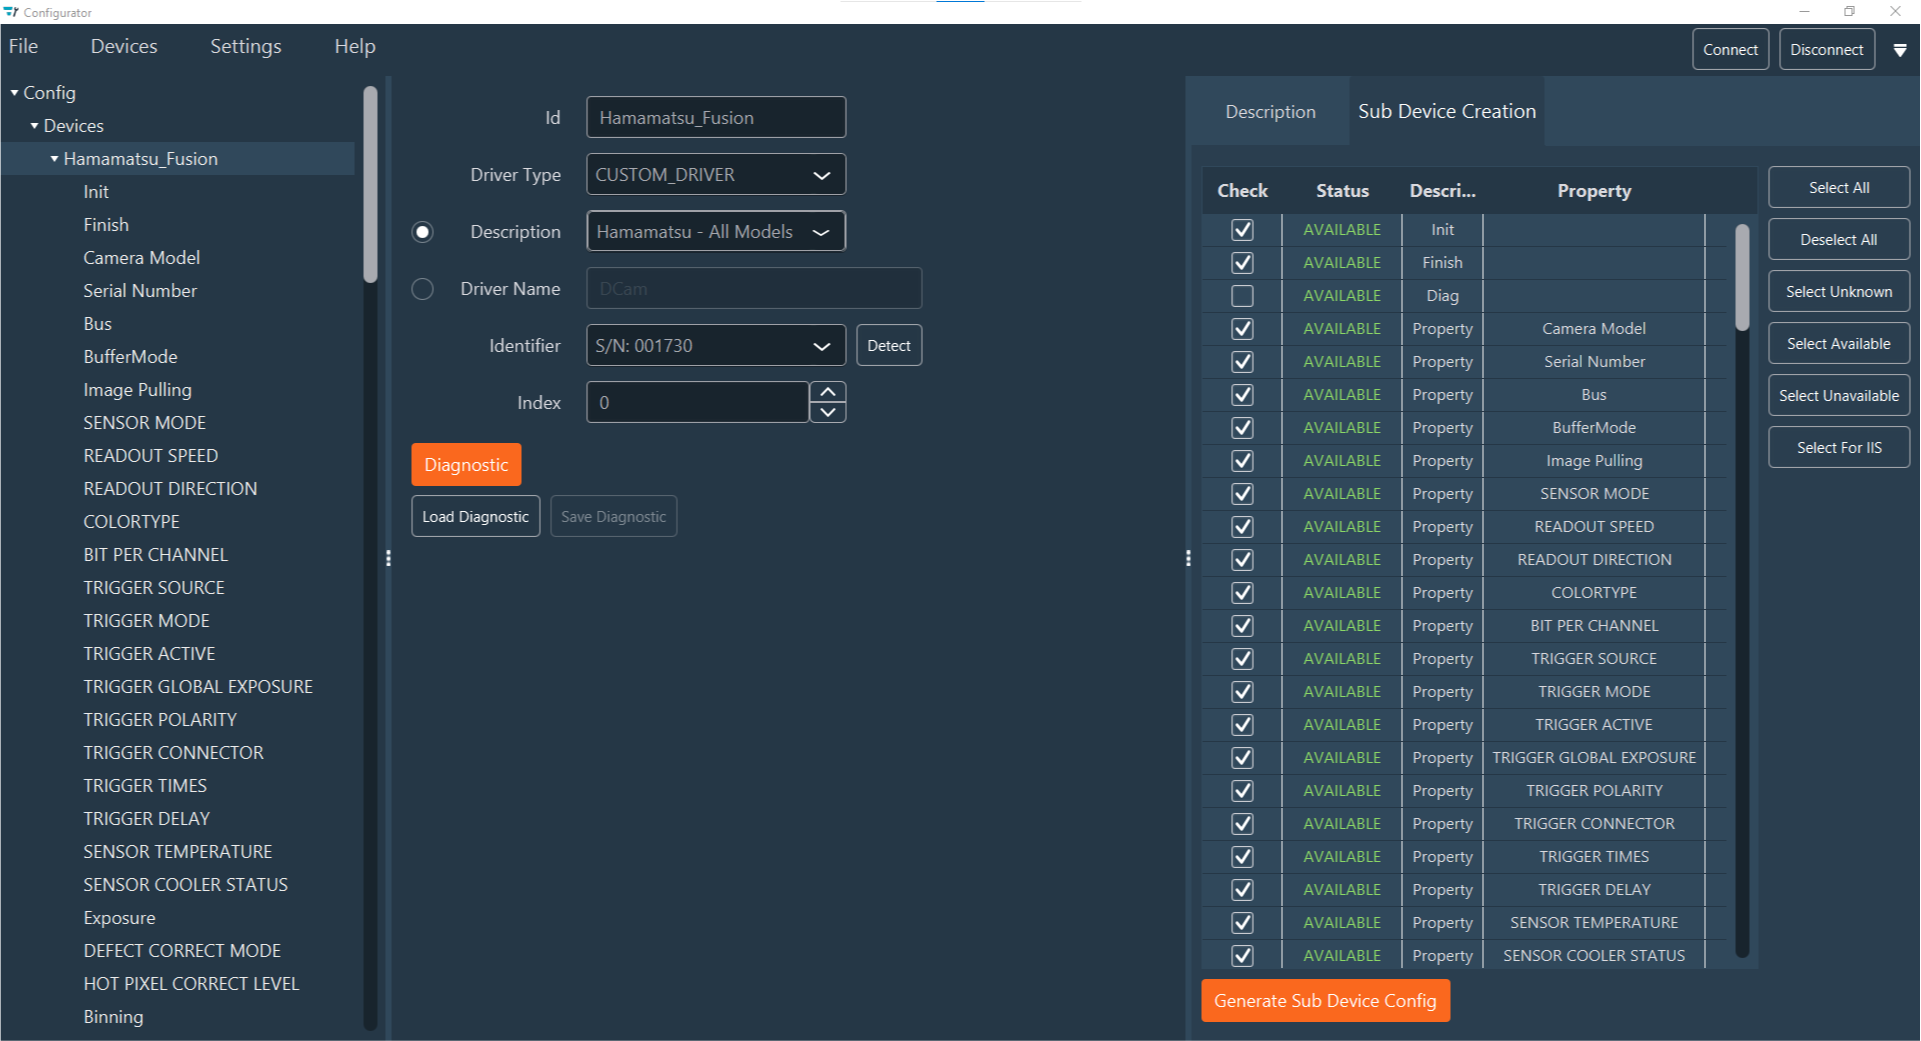
After running the Diagnostic, you can check the status of each Sub Device in
the Sub Devices tab of the Sub Devices section. The table contains four columns:
- Check: checkbox to select the Sub Devices.
- Status: indicates if the Sub Device is available, unavailable or unknown (after the diagnostic the driver could not verify the status).
- Description: indicates the name of the Sub Device.
- Property (Custom and Micromanager only): property of the Sub Device.
-
To the right of the window, you have access to different buttons to interact
with the Sub Devices list:
- Select All: Select all Sub Devices
- Deselect All: Unselect all Sub Devices
- Select Unknown: Select all Sub Devices where the status is UNKNOWN
- Select Available: Select all Sub Devices where the status is AVAILABLE
- Select Unavailable Select all Sub Devices where the status is UNAVAILABLE
- Select for IIS (only for camera devices): Select all Sub Devices needed for your Inscoper interface
-
When you have selected all Sub Devices needed, you can add them in the
configuration by clicking on the Generate Sub Device
Config button. All Sub Devices will be inserted below the Device
Name on the Configuration section.
-
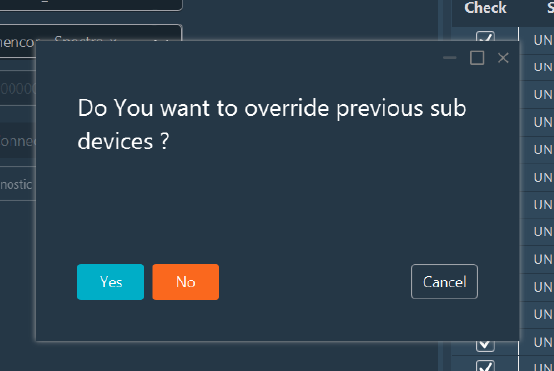
If some Sub Devices are missing, you can select them and click the
Generate Subdevice Config button. A pop-up window
will appear asking you if you want to override the previous Sub Devices. If you
answer Yes, your selection will replace your previous Sub
Devices, if you click No, your Sub Devices selection will
be added to your previous Sub Devices list.
-
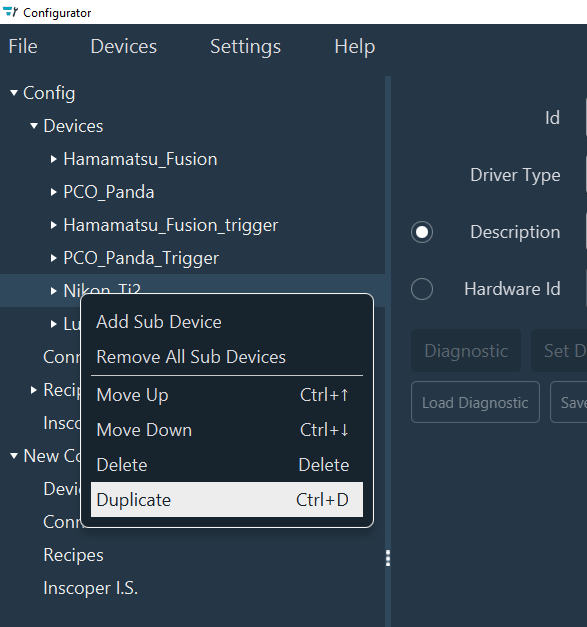
Right clicking on the device will allow you to:
- Add Sub Device: Add a subdevice to the device
- Remove All Sub Devices: Remove all subdevices from the device
- Move up: Move the device up
- Move Down: Move the device down
- Delete: Delete the device and all its Sub Devices
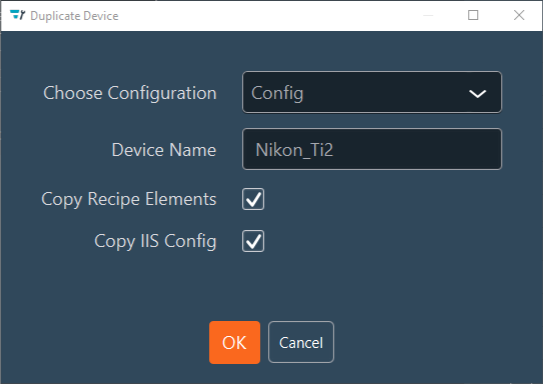
- Duplicate: Allows you to fully copy a device
within a given configuration. This is useful, for example, if you have
multiple identical devices or if you want to reuse an already configured
device in a new configuration.Note:It is possible to duplicate the device with all its recipe elements and elements related to the configuration of the Inscoper I.S.Note:Impossible to duplicate the device with the same name to the same configuration (error message will appear).
-
If you manually add a Sub Device (with the Add Sub Device function), you will
need to fill:
-
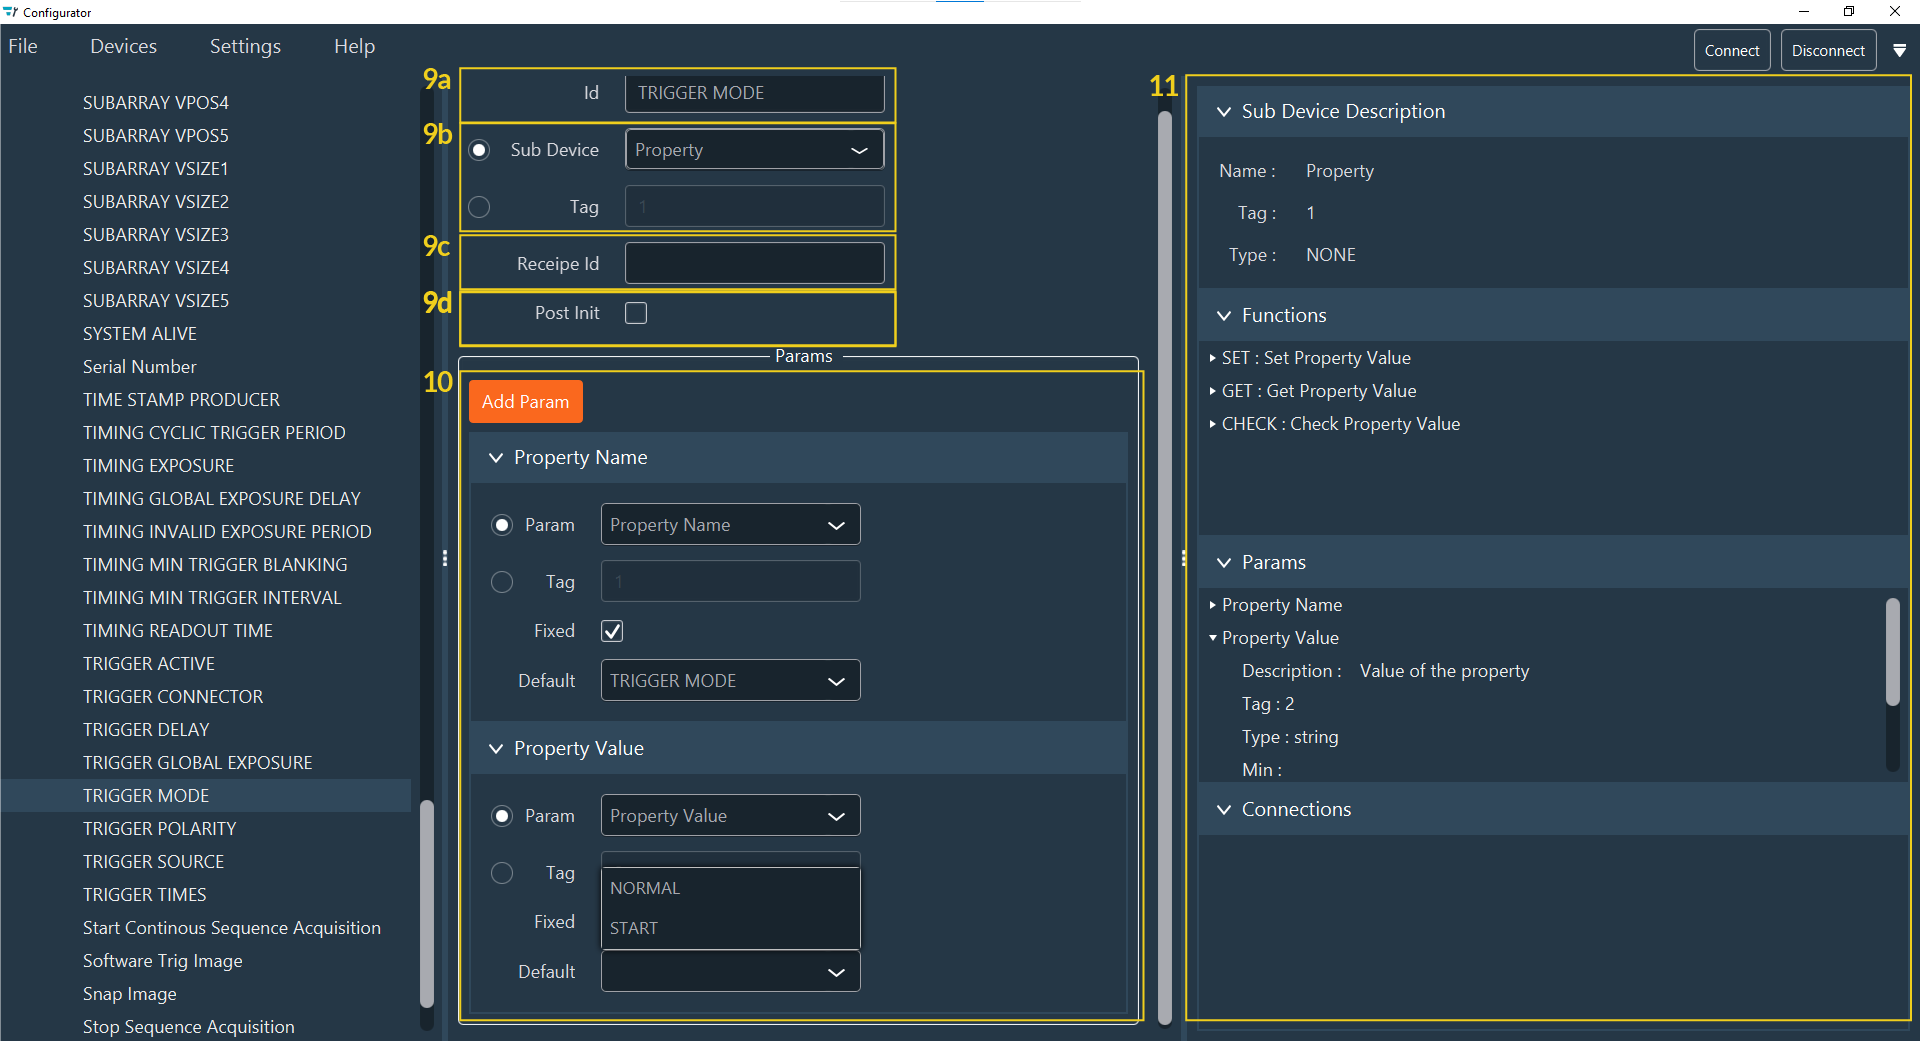
If your Sub Device has one or multiple parameters, you can add a default value
to your parameterss by clicking on Add Param:
- Select either your param or the corresponding tag.
- Select if the param is fixed or not
- Define your default value
Notice:In many cases, we want a Sub Device to carry one (or no) editable param. For Sub Devices with several params, you need to fix the value of several params to keep just one editable param.Example: the Property Sub Device (defined for all external drivers) has 2 params : Property Name and Property Value. If you fix the Property Name value, the Property Value value will be the editable param of your Sub Device : Property Name = "Exposure" (fixed) -> never changes Property Value = Editable value
Note:If no param exists for your Sub Device, the Add Param button is not visible. -
If you click on a Sub Device, you will get all
information about it in the Sub Device part like Description,
Function, Parameters.
Note:[FOR DRIVER_CUSTOM and MICRO_MANAGER ONLY] In Parameters (Params) you can see the Property Name and the Property Value. In the Device part you will always find the Property Name. This property is fixed. If you notice that a parameter (Property Value) is missing, you can add it by pressing the Add Params button. In the drop-down menu you can select the property that is not fixed. You can select the default value by selecting it in the drop-down menu.
- Repeat these steps for each device of your system.