Tiling calibration
The tiling tool is used to image large samples. The whole final image is divided into several images, called "tiles", acquired one by one and "stitched" afterwards to constitute the whole sample.
In order to use the tiling tool as efficiently as possible, it is necessary that the orientation of the camera is the same as the orientation of the stage. The calibration phase is used to make this adjustment.
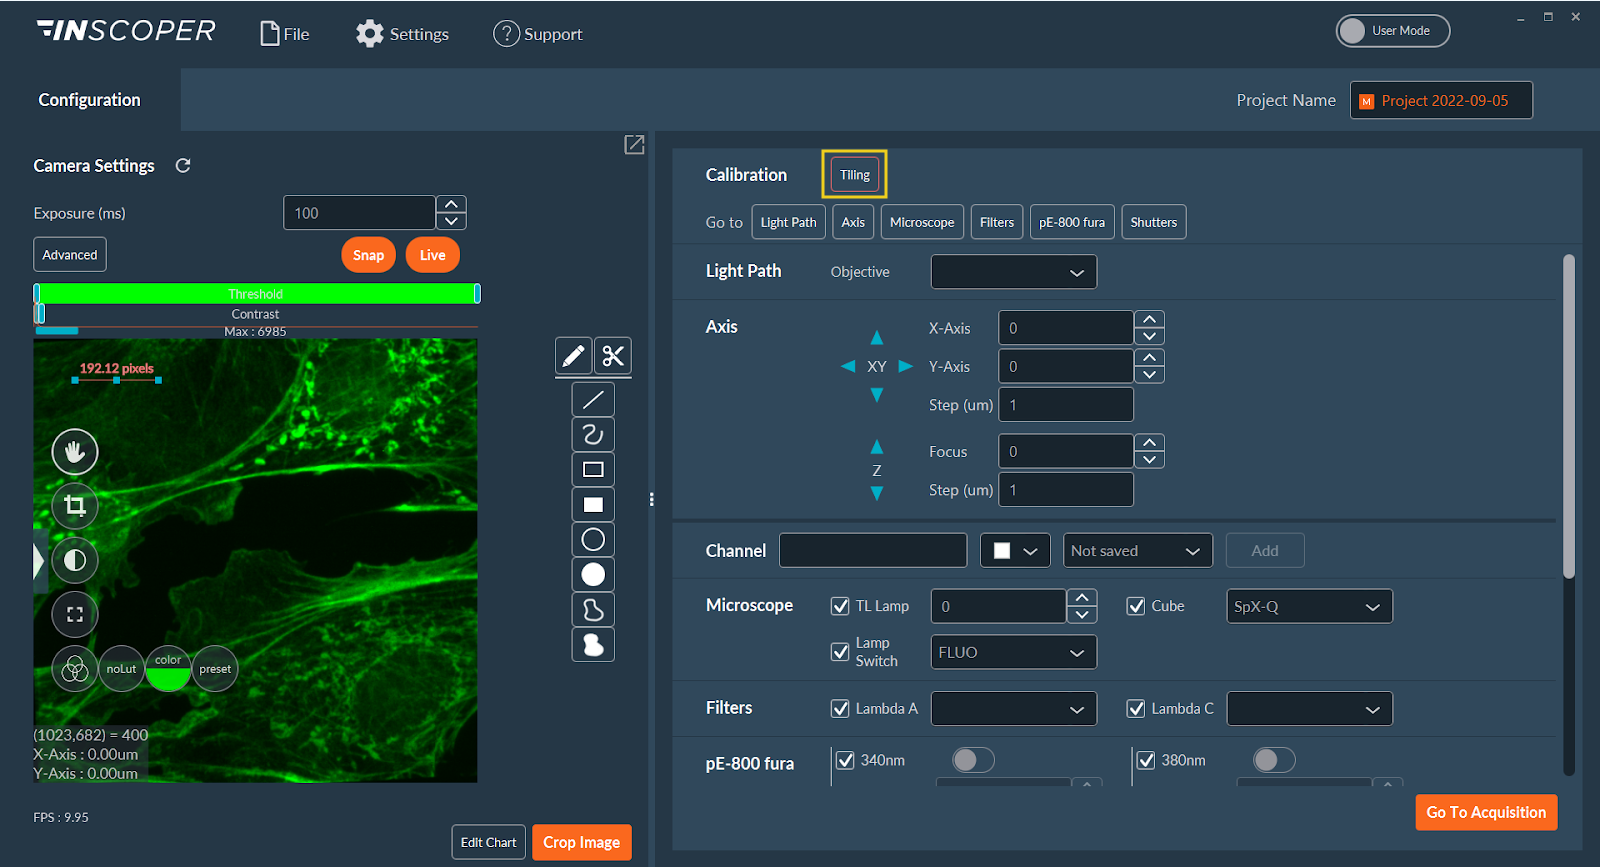
Click on Tiling in the Calibration section (if not yet calibrated, the button will be colored orange).
Calibration protocol can be performed according to two different approaches: Automatic or Manual.
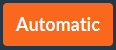 This mode is a
fully-automated calibration protocol. You have nothing to do, except click on
Automatic and validate the calibration at the end.
This mode is a
fully-automated calibration protocol. You have nothing to do, except click on
Automatic and validate the calibration at the end.
 It is a semi-automated mode.
Here, you have to test and validate the orientation of both camera and stage using
the software.
It is a semi-automated mode.
Here, you have to test and validate the orientation of both camera and stage using
the software.
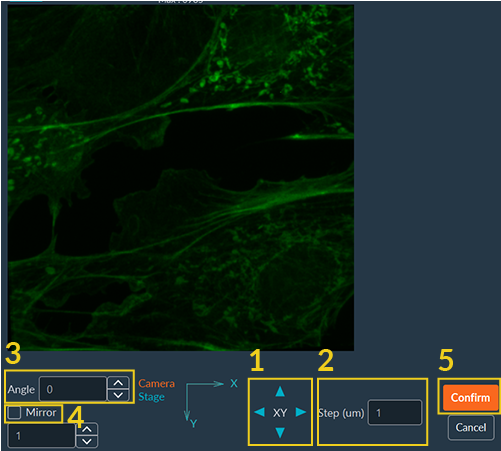
- Use the virtual joystick to move the X and Y and observe whether the joystick and the camera have the same orientation.
- Adjust the step if necessary.
- If the orientation is not the same, you can add a rotation.
- You can add a mirror effect on the image if necessary.
-
Click on Confirm.
Once the calibration finished, the Tiling button turns green.