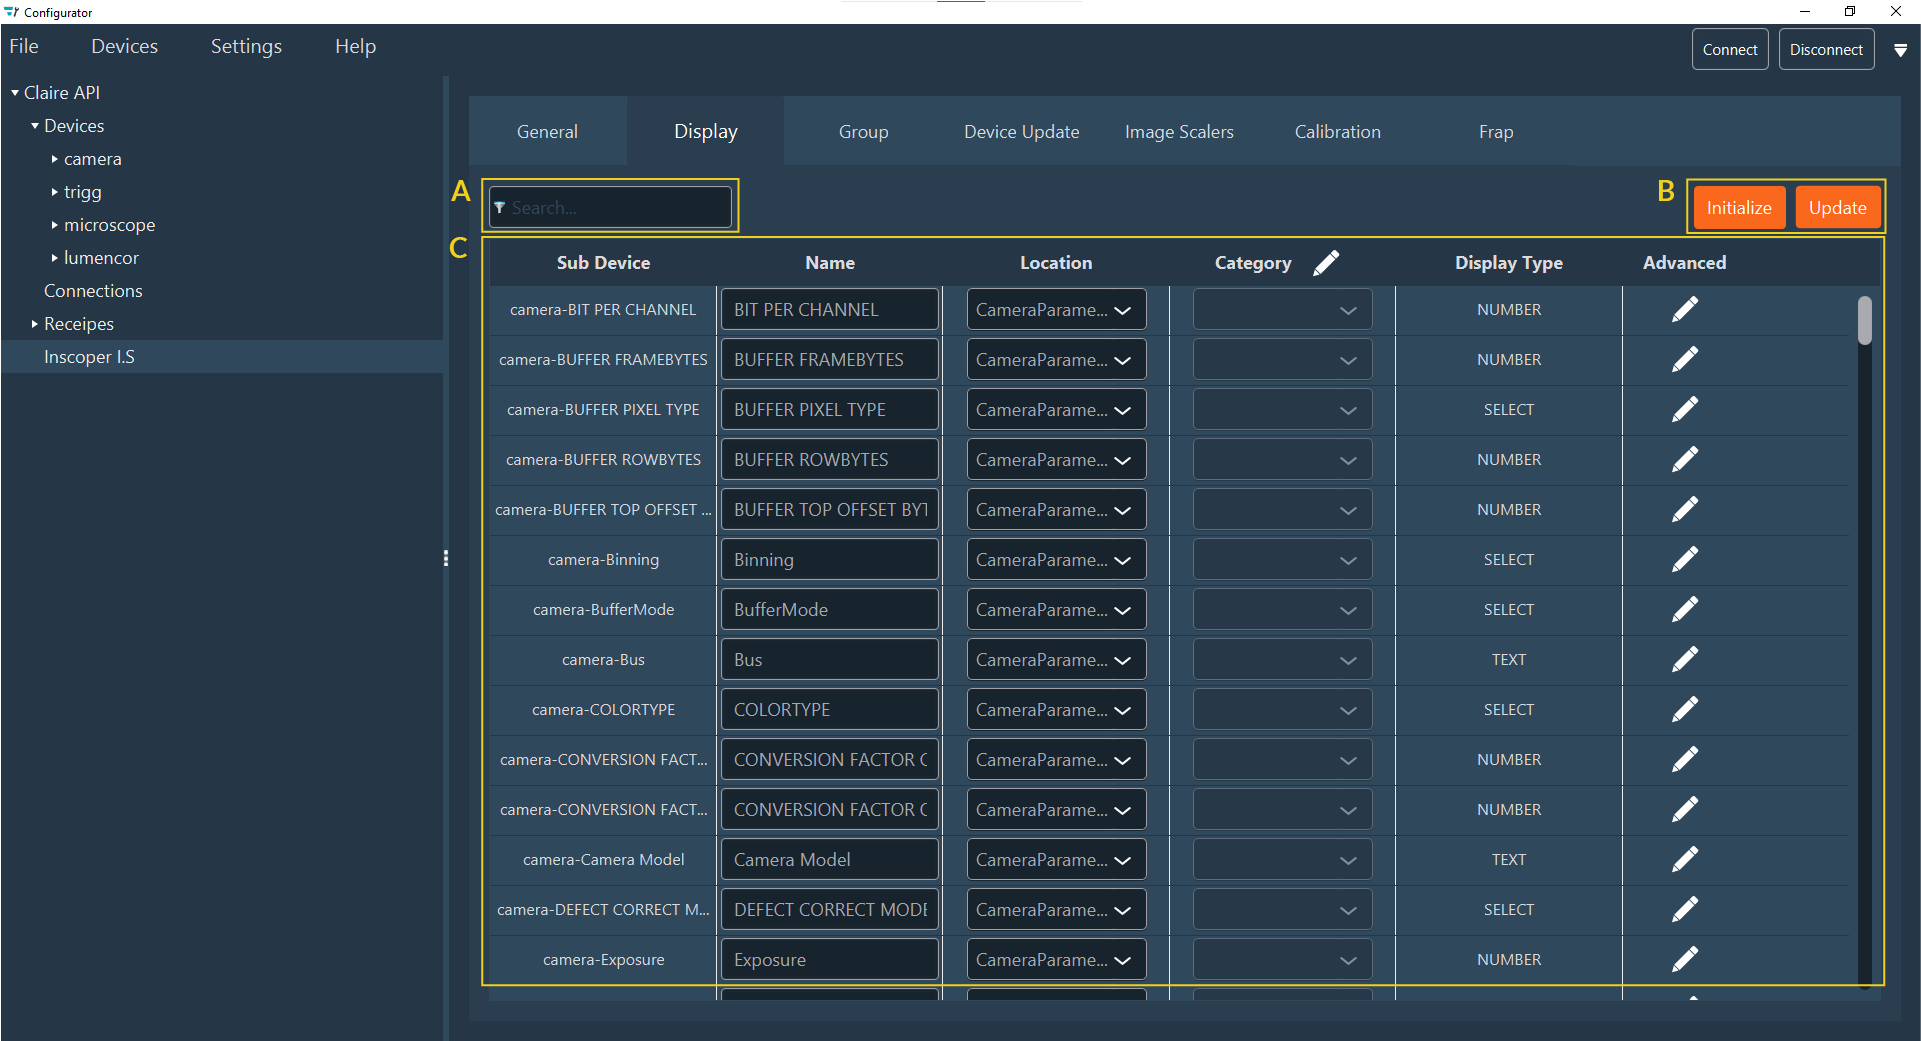
Display: This tab allows you to configure the layout
(Display) of your interface. It can be divided into
different sections (Location) and different categories in the
location (Category). There are 3 important points in this tab
:
A- Sub Device search field (lets you perform a quick search among
items in the list)
B- Buttons to interact with the Sub Devices
C- The display setting table
Click on Initialize to create all Display Data (if this
step has already been done but you want to add another device, click on
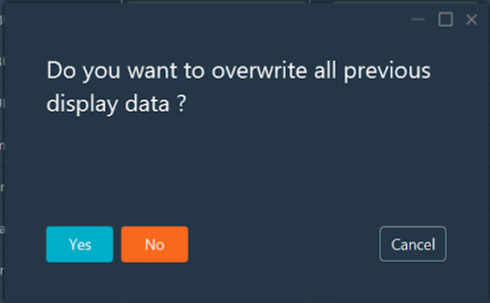
Update). If you click on
Initialize when you have already initialized your
devices, you will get a message to know if you want to overwrite your current
display or not.
Note:
After the initialization, you will get a table with all sub devices and
their Location, Category, Name, Display type by default and advanced
settings.
Sub Device: Sub Device bound to the display
Data
Name: name by default in the interface
Location: in which section you want to place
and display the Graphic Field.
Category: in the location you can organize
sub devices by category
Display type: which kind of UI-elements it
will be (for example, switcher will be a on/off button). Generated
by default but you can change it by clicking on Advanced
parameters.
Advanced: go to advanced parameters.
You can modify all the parameters directly by clicking on each column (or you
can go to Advanced)
Name: You can change the name by editing the
field.
Location: by clicking on the drop down menu you
can choose another location. Depending on your system, you will find :
Setting, Channel, Shortcut, CameraParameters, Hidden.
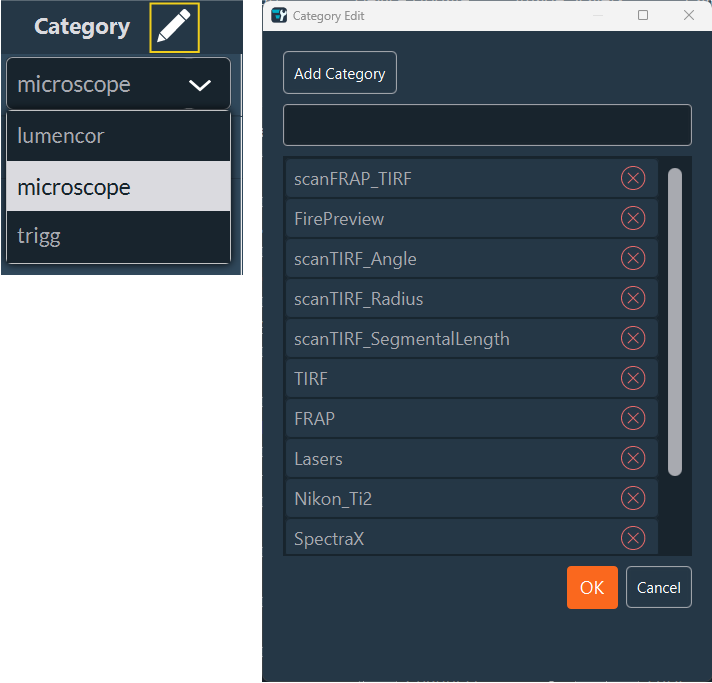
Category: You can add a category by clicking on
Edit (pen). Write the name and click on
Add Category, then click on
OK to close the window. You will find the new
category on the drop-down menu.
Display type: Depending on the Sub Device the
display type will be by default but you can modify it by clicking on
Advanced parameters.
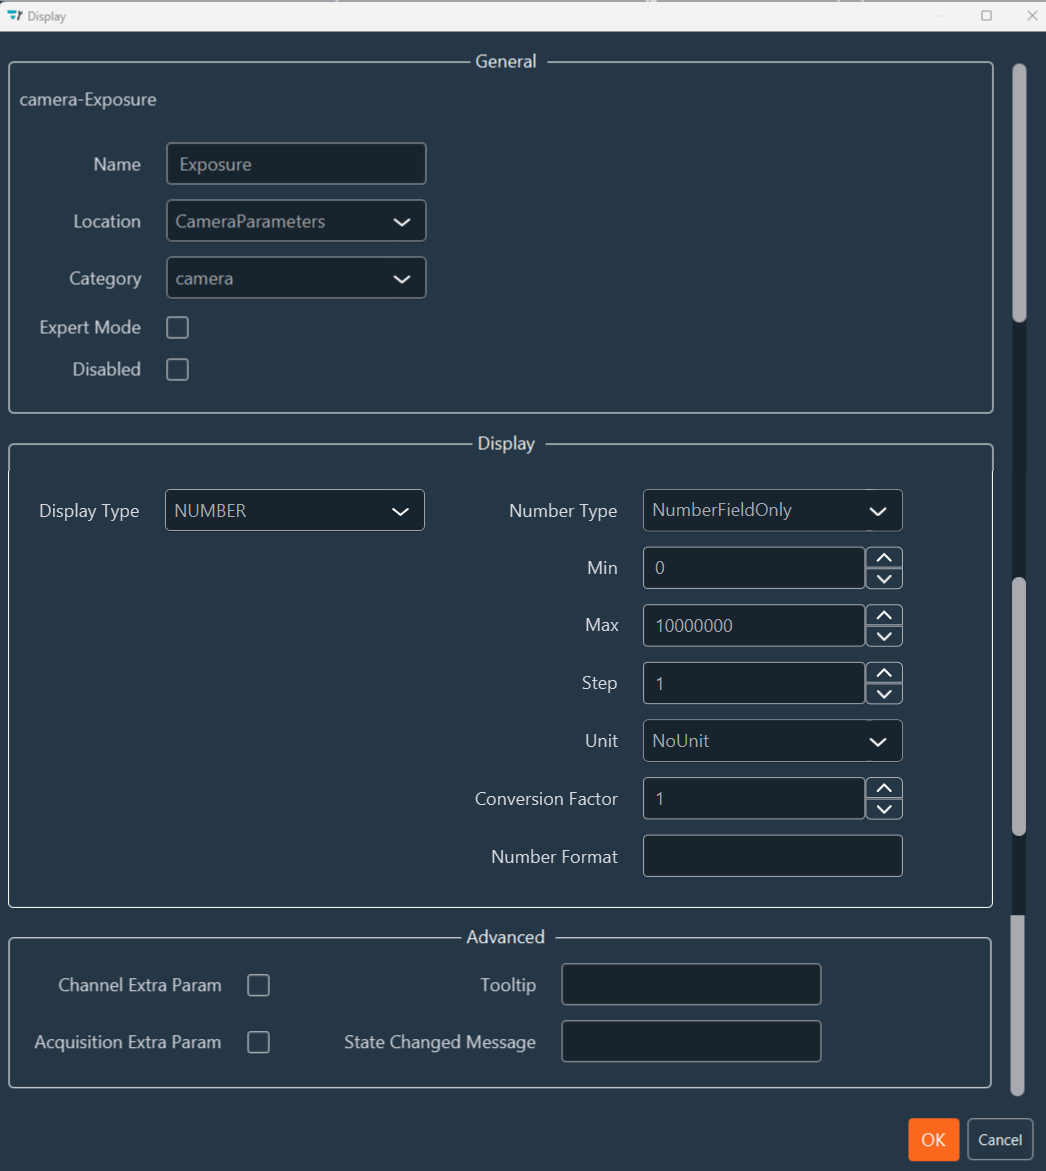
Advanced Parameters.
Advanced Tab groups all previous display parameters
together. Click on Edit (pen). You will find 3 sections
to navigate by scrolling:
General:
Name: text field.
Location: drop-down list.
Category: drop-down list.
If you want to see this parameter in Expert
mode, you should check the box (Expert mode
allows unrestricted access to all settings and parameters of the
system). If you don't check the box, the parameter will appear
in User mode. User mode allows restricted
access to some settings and parameters. The restrictions are
fully customizable, from the basic channel configuration to the
most advanced settings of the camera(s) or other devices.
If you check the Disabled box, the
setting cannot be changed. It is possible to switch from User
Mode to Expert Mode at any time. A password can be set to access
the Expert Mode. These authorization levels are optional,
depending on the use of the system.
Display Type:
SELECT - Select either
Combo_Box (drop-down list),
Toggle_Button (switching between two
states) or Radio_Button (multiple button
but one choice). Then click on Add Value
and fill in required values. You can delete them one by one by
clicking on the red cross.
Note:
Example : you have 5 positions in the
filter wheel (from 0 to 4 [you can find this information
in the property of your Sub Device]). The display type
will be SELECT and ComboBox. To configure these 5
positions you need to add 5 Values (see the example
table below):
Value
Display
O
DAPI
1
GFP
2
YFP
3
Cy3
4
Cy5
NUMBER - Select Number Type in the
drop-down list:
Number field only
VerticalJoystick
ThetaJoystick
Horizontal Slider
Vertical Slider
Potentiometer
For each number type, you need to indicate:
Minimal and the maximal value
Step to change the value
Unit of this value: it can be
Distance,
Time or No
unit
Number Format: decimal, the number of decimal or no
decimal
Conversion Factor: decimal
For the VerticalJoystick and the ThetaJoystick, you can
add a JoystickName
Note:
Example: used for stage.
SWITCHER - Select Switcher
Type between Switcher or
Button in the drop-down menu:
If Switcher, indicate the
open and
close value.
Notice:
For Inscoper, 0 is for close value and
1 is for open value.
If Button, indicate the open and
close value, open and close name.
TEXT - Text display type requires no
action from your part.
 Note:After the initialization, you will get a table with all sub devices and their Location, Category, Name, Display type by default and advanced settings.
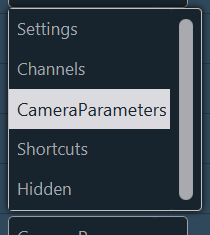
 Note:Example : you have 5 positions in the filter wheel (from 0 to 4 [you can find this information in the property of your Sub Device]). The display type will be SELECT and ComboBox. To configure these 5 positions you need to add 5 Values (see the example table below):


