Interface presentation
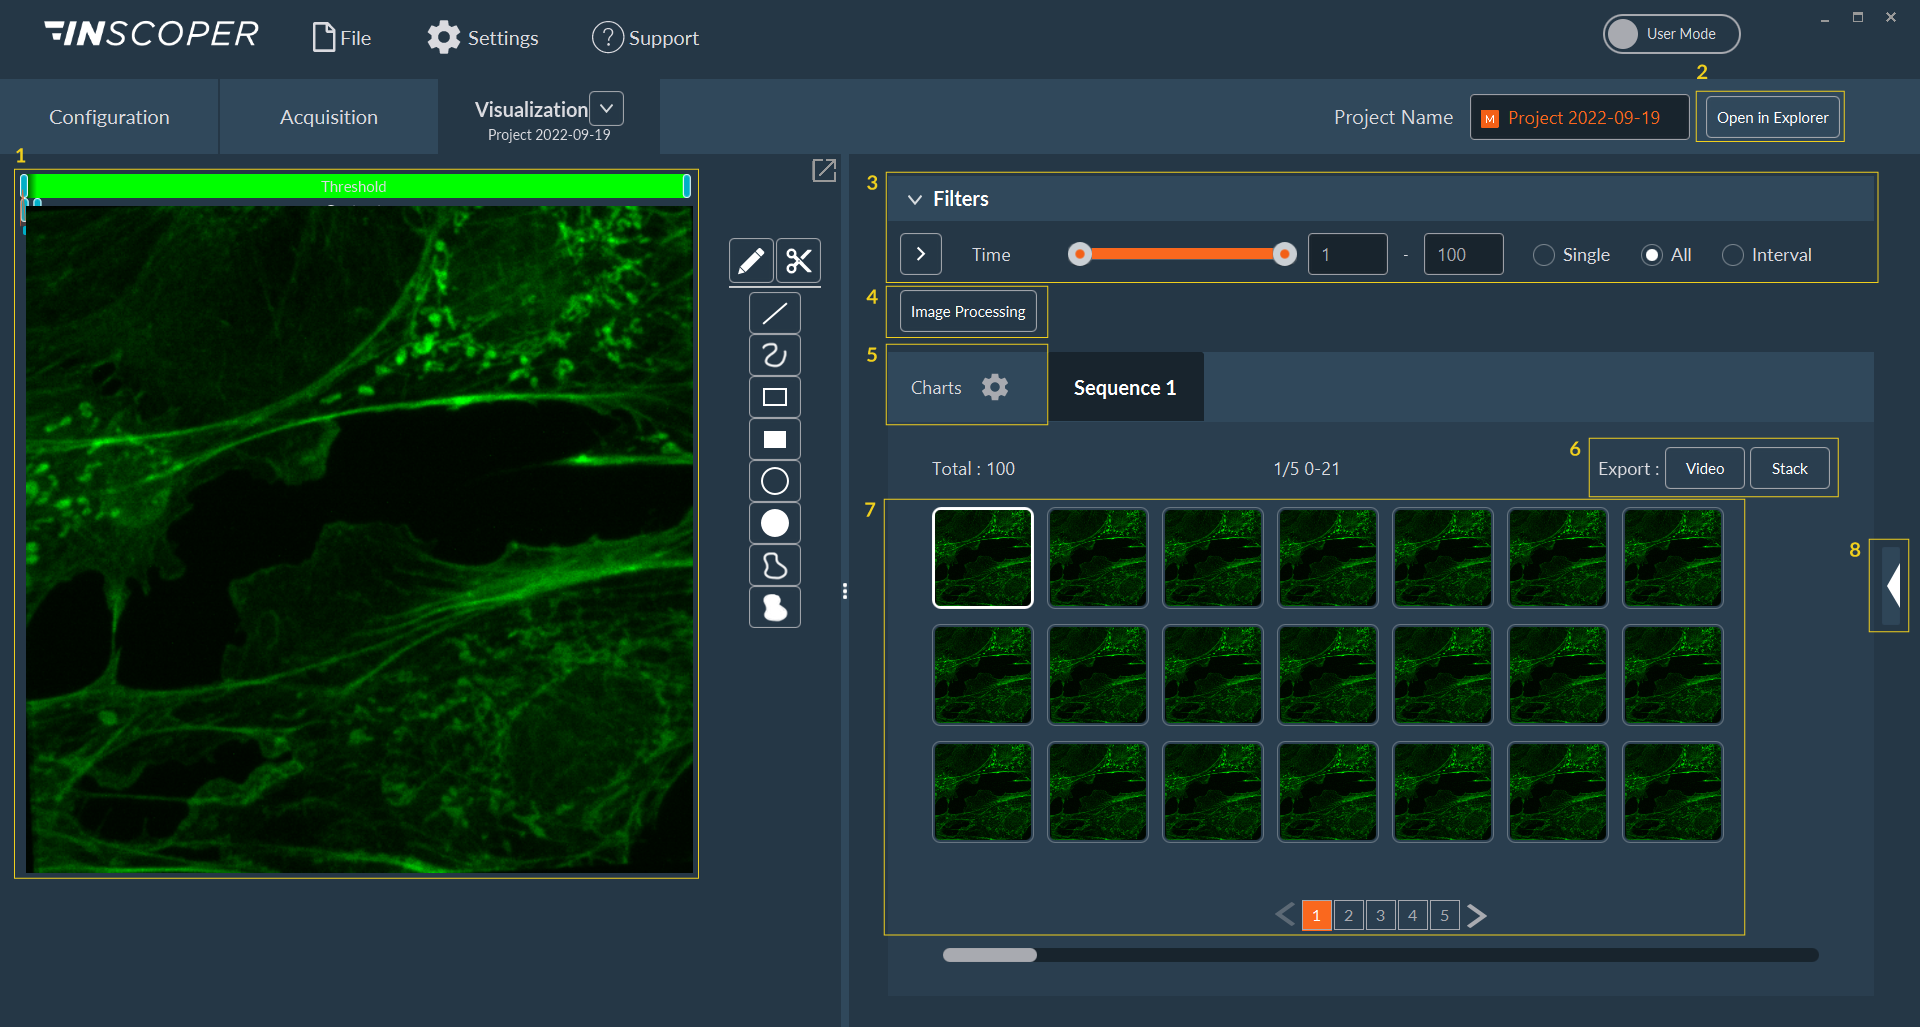
- As in the rest of the software, this part of the screen is reserved for viewing images.
- Opens the location where images are stored. Only works if you save your data to disk.
- Filters to select images by dimensions.
- Select image to visualize and create a new image processing.
- Button to switch to graphics visualization.
- Options to export the current acquisition sequence by video or stack.
- All acquired images.
- Metadata access.