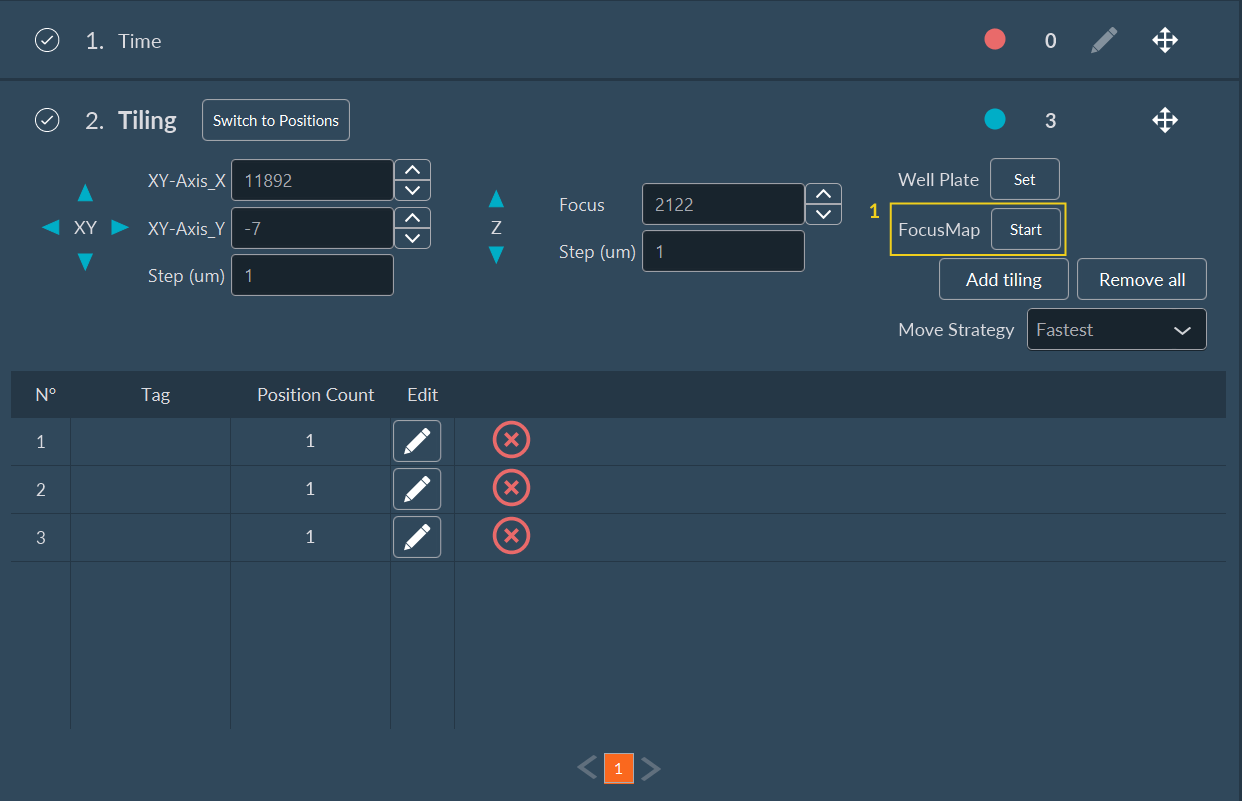
Automated Focus Map - Multiple area tiling
In Tiling dimension, after the configuration of all your tiling, you can do a FocusMap for all the positions.
-
Click on Start.
-
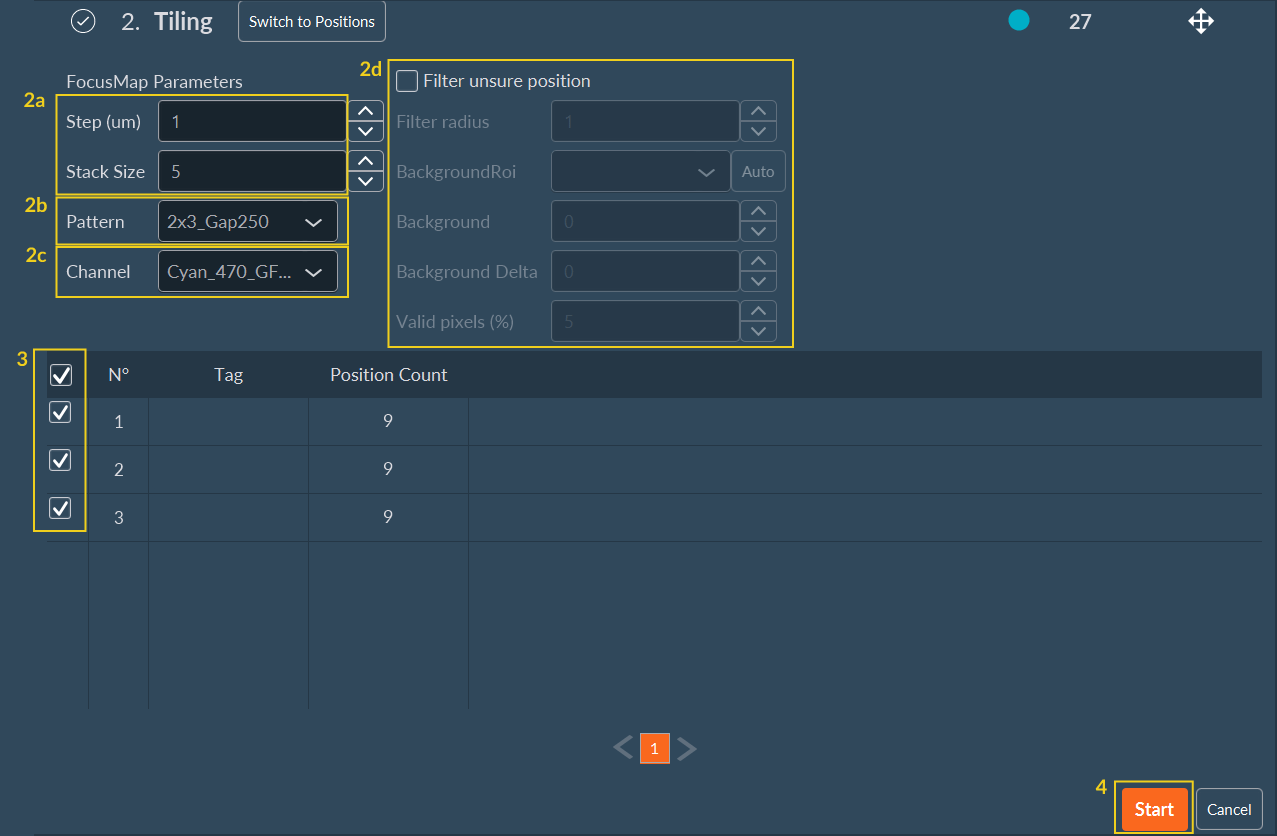
Proceed to the Focus Map Automation:
- Choose the step and size to the stack.
- Choose the pattern.
- Choose the channel to acquire the stack.
- You can apply some filters by checking the box “Filter unsure position”
- Filter radius: filter to smooth the noise by replacing each pixel by the median of the neighbor (0= no smoothing, 1= median on 3x3 square around the pixel, 2= median on 5x5 square around the pixel, …)
- BackgroundRoi: automatic calculation of Background and BackgroundDelta values by drawing ROI. Background will be the mean value of the ROI and BackgroundDelta will be the double of the standard deviation.
- Background: background mean value
- Background Delta: Amplitude of the noise
- Valid pixels: percent of pixel that should be far of the background to validate the position
- Select the positions where the Focus Map will be applied by checking the boxes on the left.
-
Click Start.
-
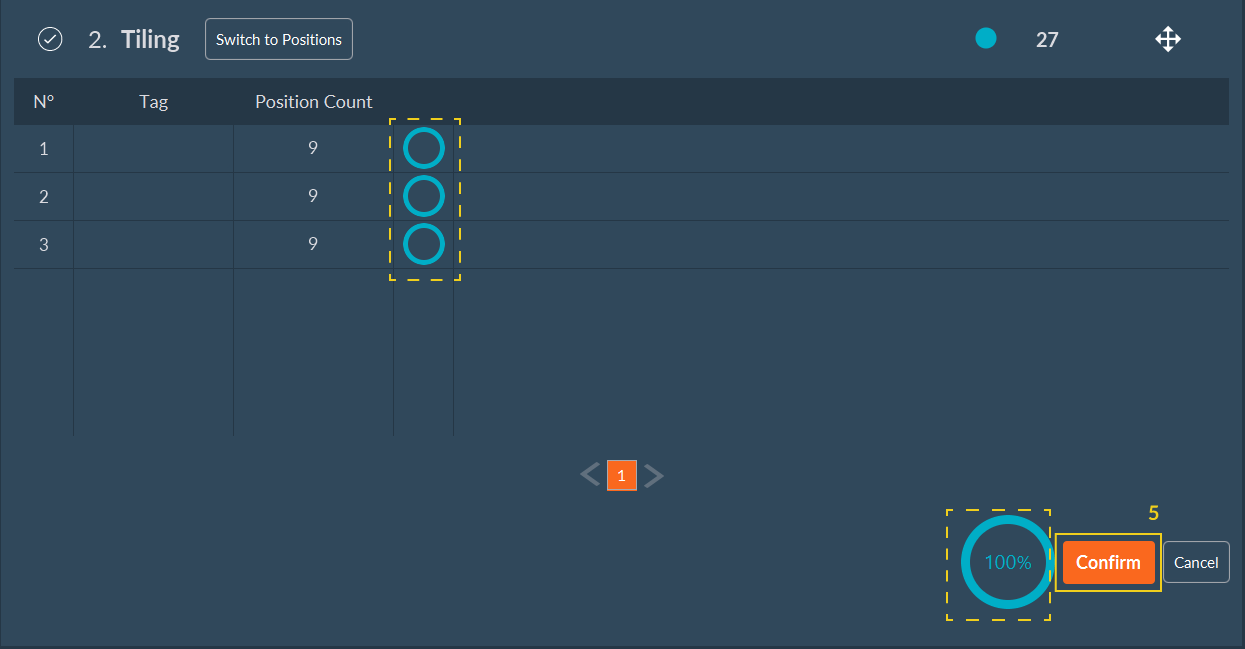
When the focus map is ready, a blue circle will appear on the right side of
each position and at the bottom right (near the “Confirm” button).You will
return automatically to the Tiling dimension. Once the blue circle indicates
100%, the focus map is finished and you need to click on
Confirm.
-
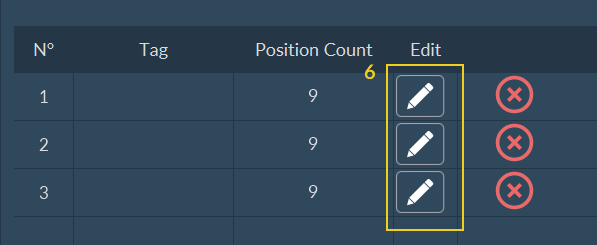
You can verify the focus map for each tiling by clicking on
Edit. Then you can continue to configure your
acquisition sequence.