Focus Map automated setup
This option is accessible from the Positions or Tiling dimension using the Set button.

-
Click on Focus Map to configure it.
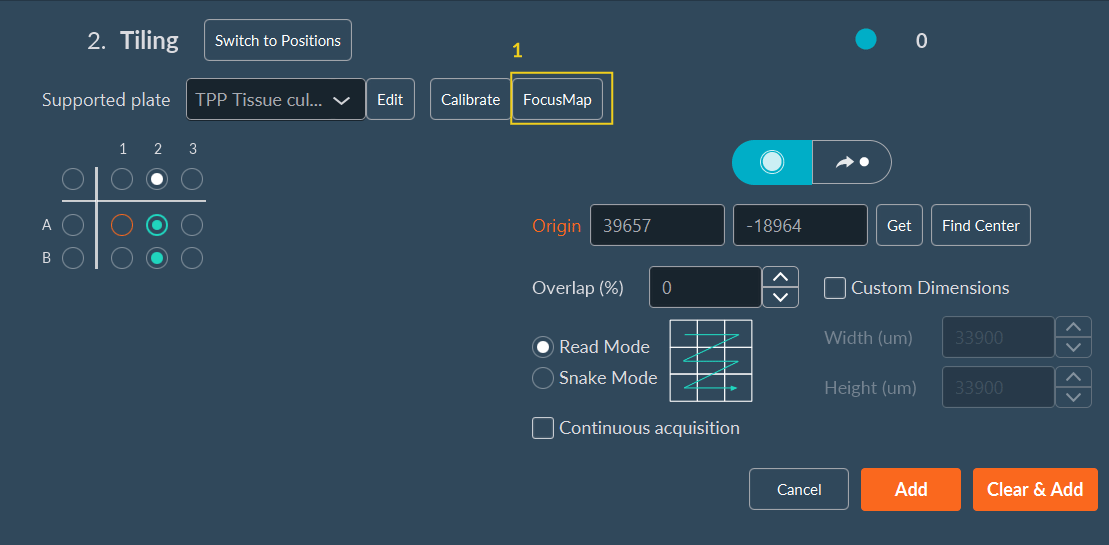
-
Select your well where you would like to create your Focus
Map then click on Confirm.
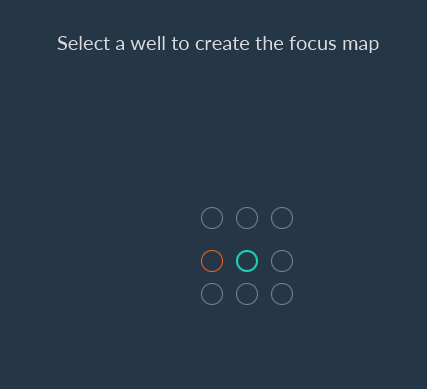
-
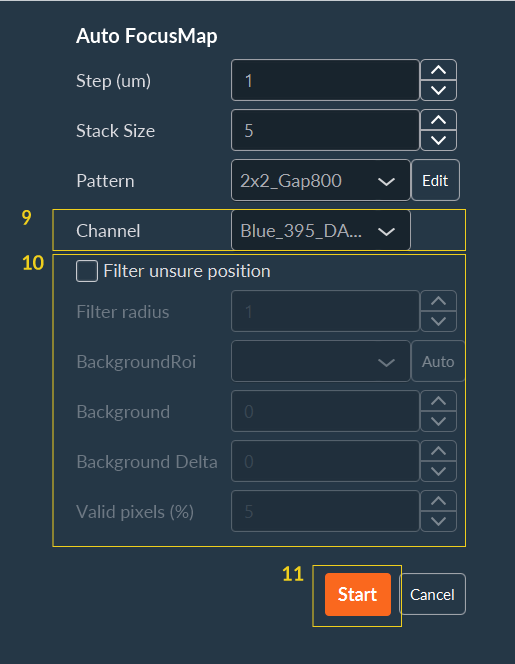
Click on Auto to configure the Focus Map.
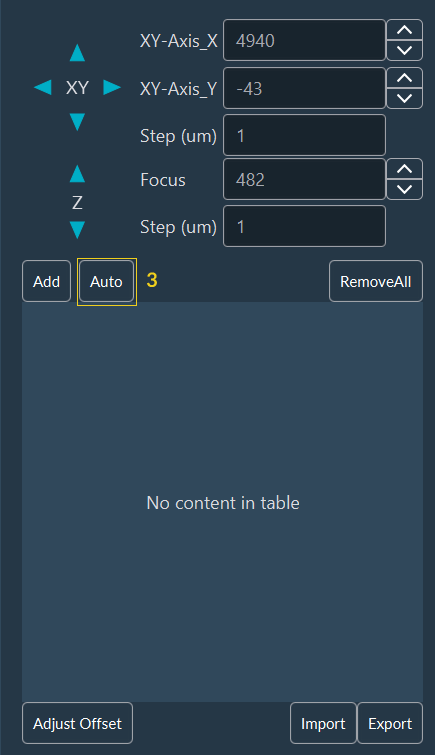
- Choose the step and size of the stack.
-
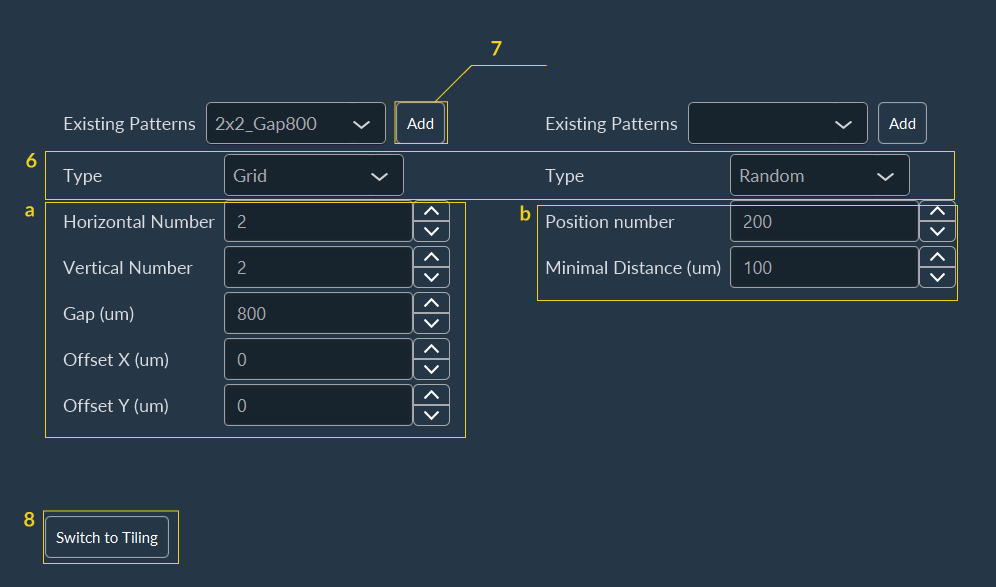
You can select an existing pattern from the drop-down list (after that go
directly to the step 9) OR you can create a new pattern by clicking on
Edit.
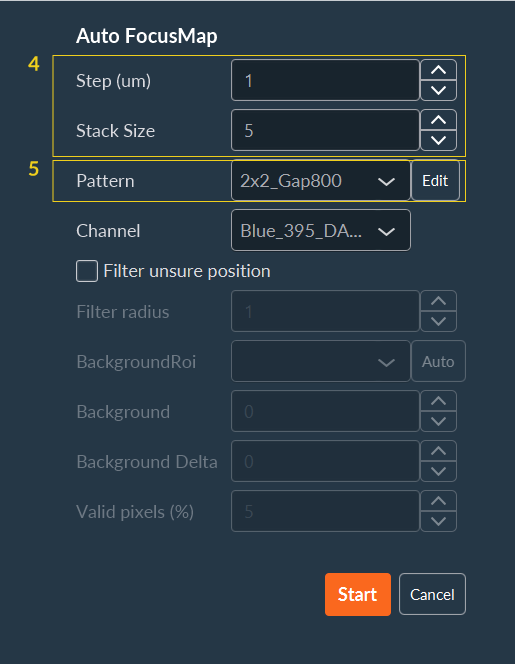
-
Select the pattern you want: Grid or
Random:
- Save your pattern by clicking on Add.
-
Come back to the dimension by clicking on Switch to
Tiling.
- Choose the channel to acquire the stack.
-
You can apply some filters by checking the box Filter unsure
position:
- Filter Radius: filter to smooth the noise by replacing each pixel by the median of the neighbor (0= no smoothing, 1= median on 3x3 square around the pixel, 2= median on 5x5 square around the pixel, …).
- BackgroundRoi: automatic calculation of Background and BackgroundDelta values by drawing an ROI. Background will be the mean value of the ROI and BackgroundDelta will be the double of the standard deviation.
- Background: background mean value.
- Background Delta: amplitude of the noise.
- Valid pixels: percent of pixel that should be far of the background to validate the position
-
Click on Start.
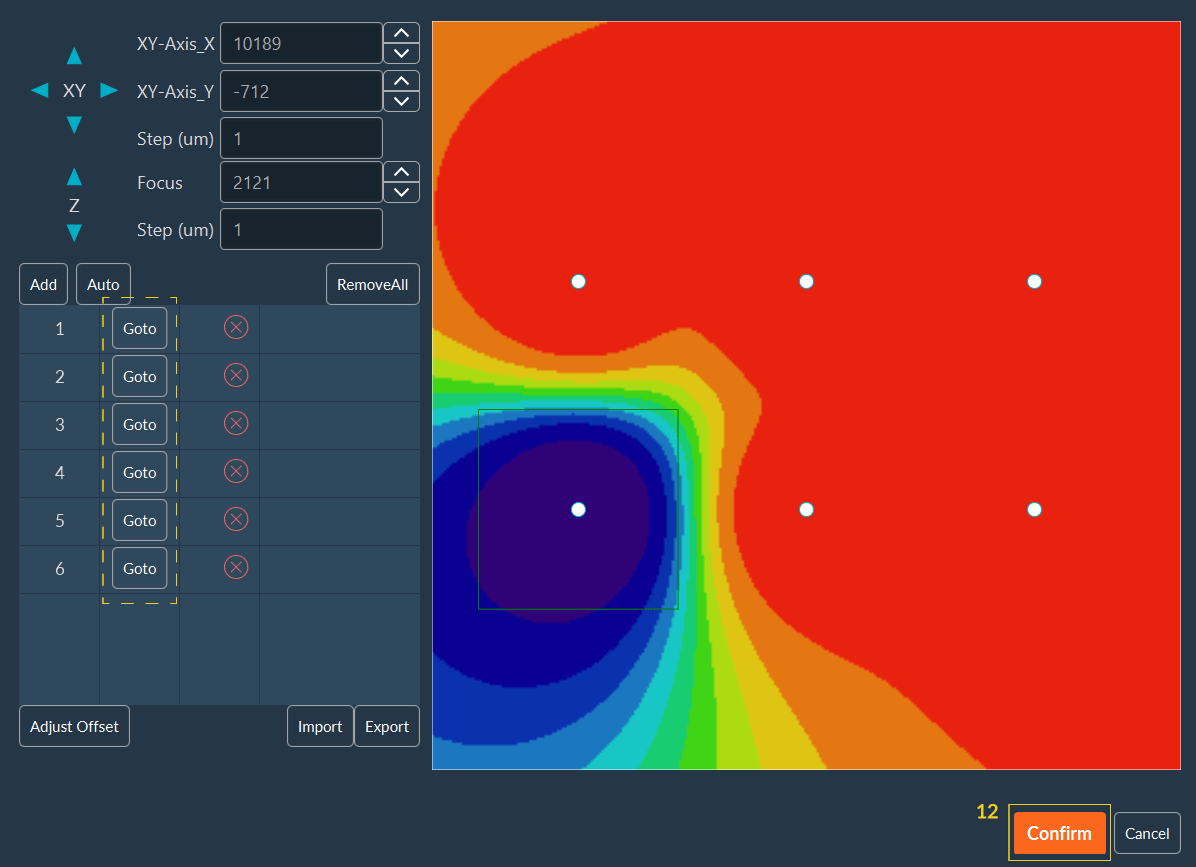
System will perform all points to create the Focus Map and you will obtain a list of points. By clicking on Goto or on the image, you can check the focus.
-
Click on the Confirm, the Focus
Map is ready to use.
-
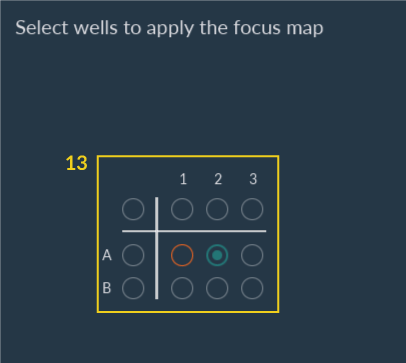
Select the wells where you want to apply the Focus Map then click on
Confirm.
-
Select the wells that you want to acquire and click on
Add.
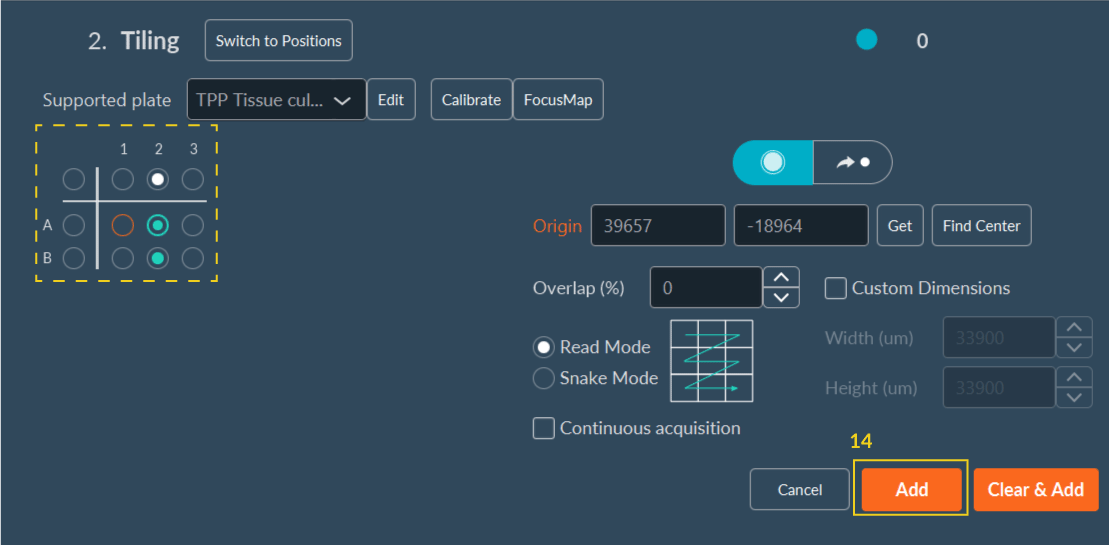
-
Select if you want to use or not the current Z to adjust the FocusMap.
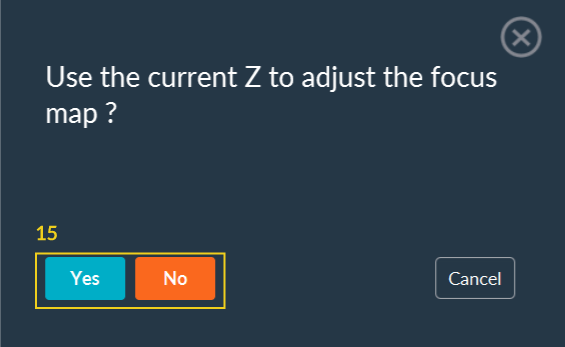 After this step, you can continue to configure your acquisition sequence.
