Overview
The Inscoper Imaging Software (Inscoper I.S.), powered by a proprietary hardware controller, provides an integrated interface for managing optical imaging workflows.
Inscoper I.S. offers research microscopists a unified interface to manage their optical imaging systems:
- Orchestrate multi-dimensional acquisition sequences.
- Control multiple cameras and manage data streams.
- Monitor hardware status in real time.
- Manage experimental configurations via reusable projects.
- Perform basic image processing and volumetric visualization.
Prerequisites
An Inscoper-certified installer assembled a hardware configuration for your system using the Configurator software. Now, your system is ready to perform your acquisition workflow.
If you want to perform minor hardware modifications (switch or add objectives, cubes), you can proceed with caution following this tutorial (part 3). For any other changes, do not modify the hardware configuration on your own at the risk of breaking image acquisition functions. Please contact us if you need advice.
User Journey
The Inscoper I.S. interface follows a guided workflow that helps new users get started quickly, while remaining efficient and enjoyable for experienced users.
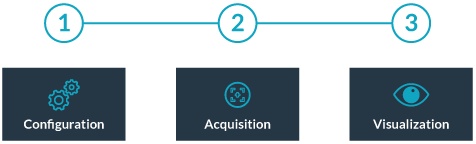
This journey follows three distinct phases:
- Establish optical pathways, configure connected hardware devices, and define parameters (Configuration).
- Construct an acquisition protocol by configuring programmable dimensions, or design a custom pattern (Multi-dimensional Acquisition / Designer).
- Explore the resulting images using built-in visualization tools (Visualization).
Getting Started
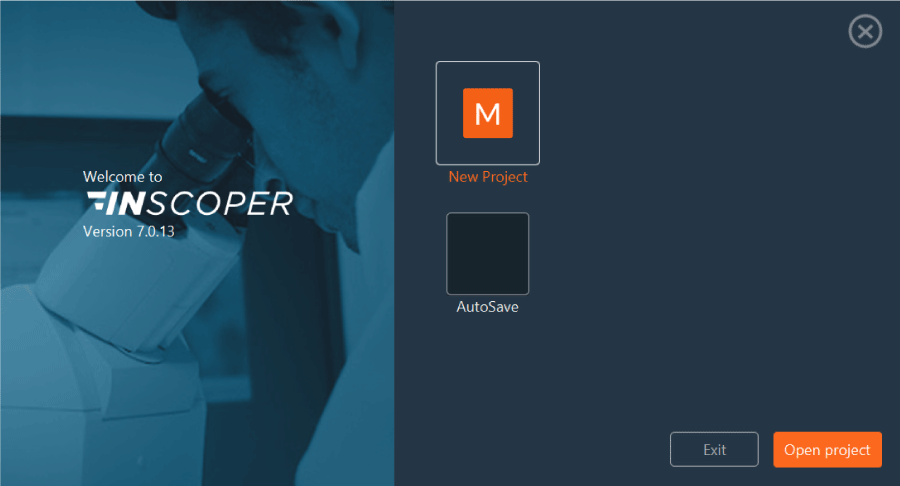
When you launch Inscoper I.S., the start window appears. The software version number is displayed, and you can choose from the following options to begin:
| Command Button | Operational Description |
|---|---|
| New Project | Initializes a new working session. |
| Auto save | Recovers the most recent session state, including unsaved sequence parameters. |
| Open Project | Opens an existing project. Select your file (.cbf) from the directory tree, then click Open. |
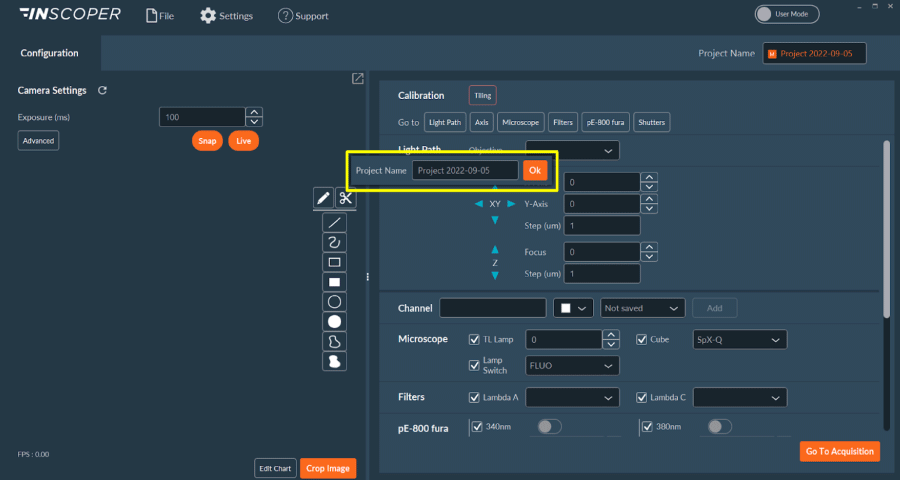
After you select the appropriate session setup, the software probes and initializes the connected hardware. You are then prompted to name the new project. If the name field is left blank, the system defaults to the current date, as shown in the image above.