LiveSR
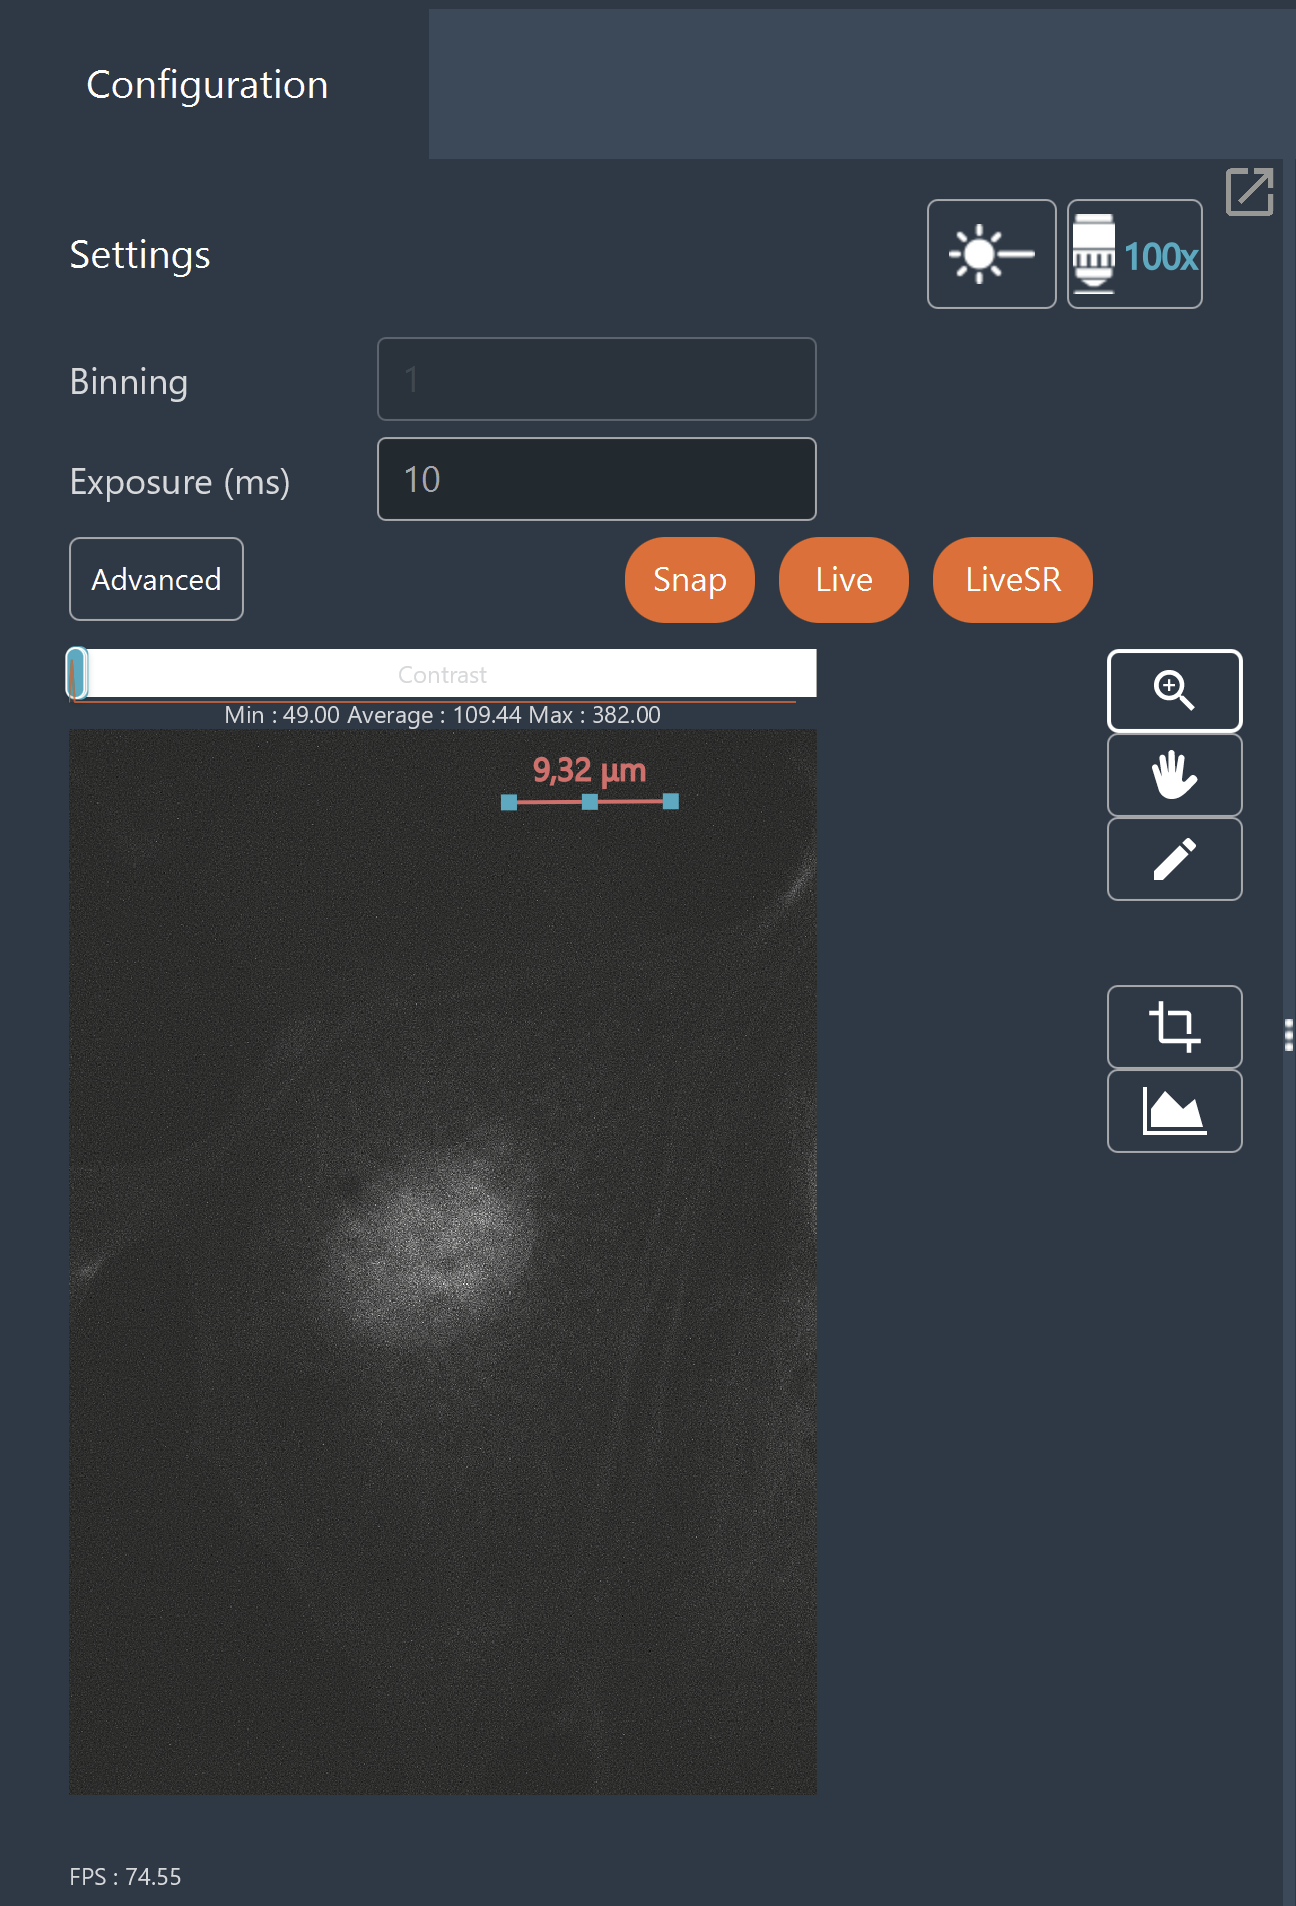
LiveSR Real-Time Preview
In addition to the standard Live and SNAP buttons, use the LiveSR button to preview LiveSR processing in real time.
Configuring LiveSR Parameters
In the acquisition tab :
- Configure your acquisition sequence.
- Select the DataProcessor that will perform the LiveSR processing.
-
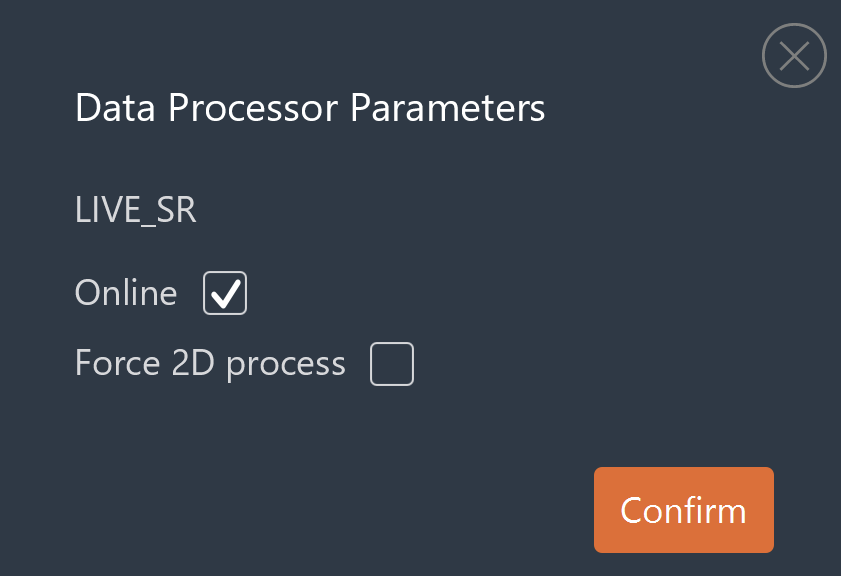
Click the Edit Parameters button, to configure the following settings:
-
Online:
- If Online is not checked, a smoothing step is applied at the end of the algorithm.
-
If it is checked, this step is skipped for faster process. In Live (LiveSR), the smoothing step is skipped.
Note
The smoothing is a low-pass filter to remove any noise that may be introduced by deconvolution
-
Force 2D process:
- By default, the system applies 2D processing for single frames and automatically switches to 3D processing during Z-stack acquisitions.
-
Check Force 2D process to enforce 2D processing across all frames, even during a Z-stack acquisition.
Note
- Maximum Z-Step: The Z-step size must be less than 0.4 µm when running 3D processing. Exceeding this threshold will trigger an error message.
- Bypassing the Limit: To acquire a Z-stack with a step size greater than 0.4 µm, you must enable the Force 2D process option.
-
-
Click Confirm to apply your parameters.
- Click Start Acquisition to run the experiment.
Creating a LiveSR DataProcessor
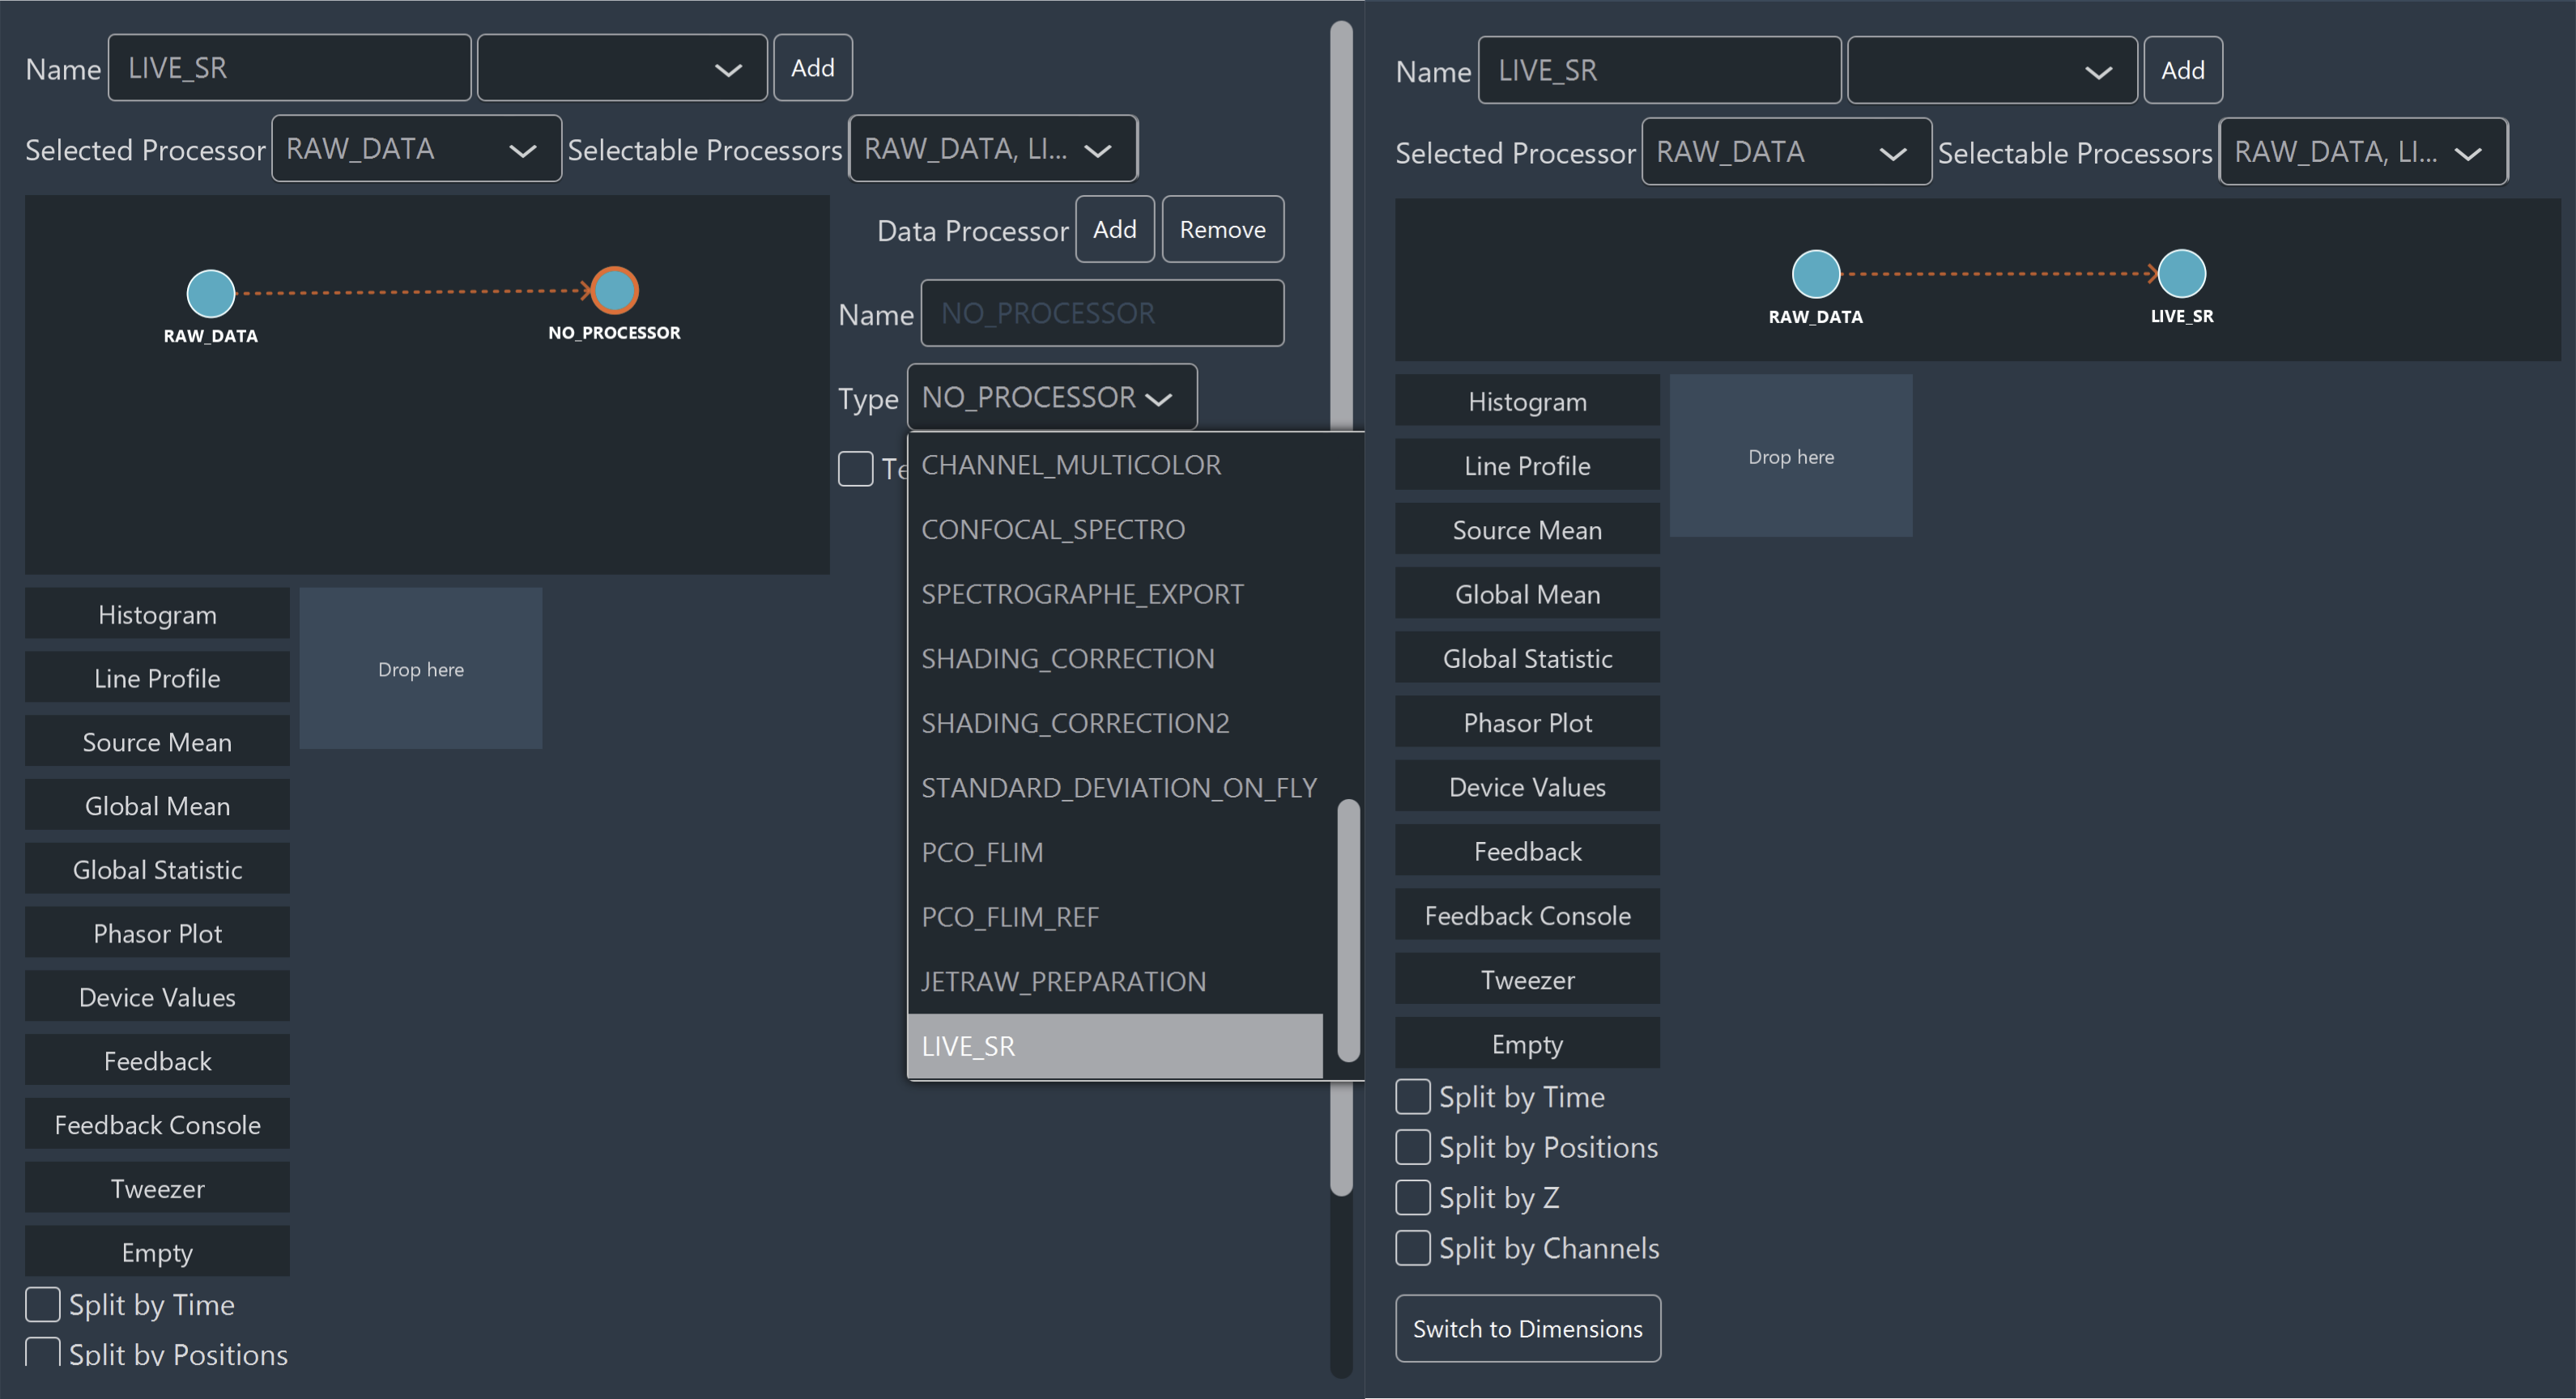
To construct a custom LiveSR processing pipeline:
- Enable Expert Mode.
- Click Switch to DataProcessor.
- Add Processing Nodes:
- Right-click the RawData node and select New Node.
- Double-click the new node to open its properties.
- In the right-hand panel, select the LIVE_SR process.
- Configure Display Settings:
- Selected Processor: Select the process from the drop-down menu that will be displayed in real time during acquisition.
- Selectable Processors: Select the process(es) that will be accessible in the Visualization tab after acquisition completes.
- Enter a name for the custom DataProcessor, then click Add to save it.