Get Started
This page follows a first configuration, from launching the application to saving the result.
1. Start the Configurator
Launch the Configurator from its desktop shortcut or from the executable in the installation directory.
On startup, the Configurator connects to the Device Controller and reports the number of drivers found per source. Device Controller counts the drivers read from the Device Controller; Micro Manager and Custom count the drivers found in the external resource directories.
| Device controller not detected | Device controller connected |
|---|---|
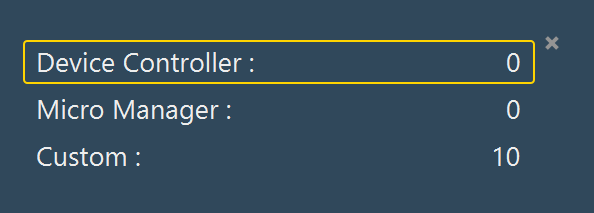 |
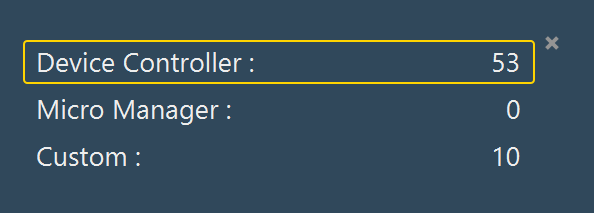 |
If Device Controller shows 0, check that the Device Controller is powered on and connected to the computer. Then click Connect at the top right of the window, and select Devices > Reload Devices to read the hardware library again.
Without a Device Controller, use Devices > Load Devices From File to load a hardware library (descriptions.xml) previously exported from a connected Configurator with Devices > Save Devices To File.
2. Choose what to open
The application opens on the Welcome screen.
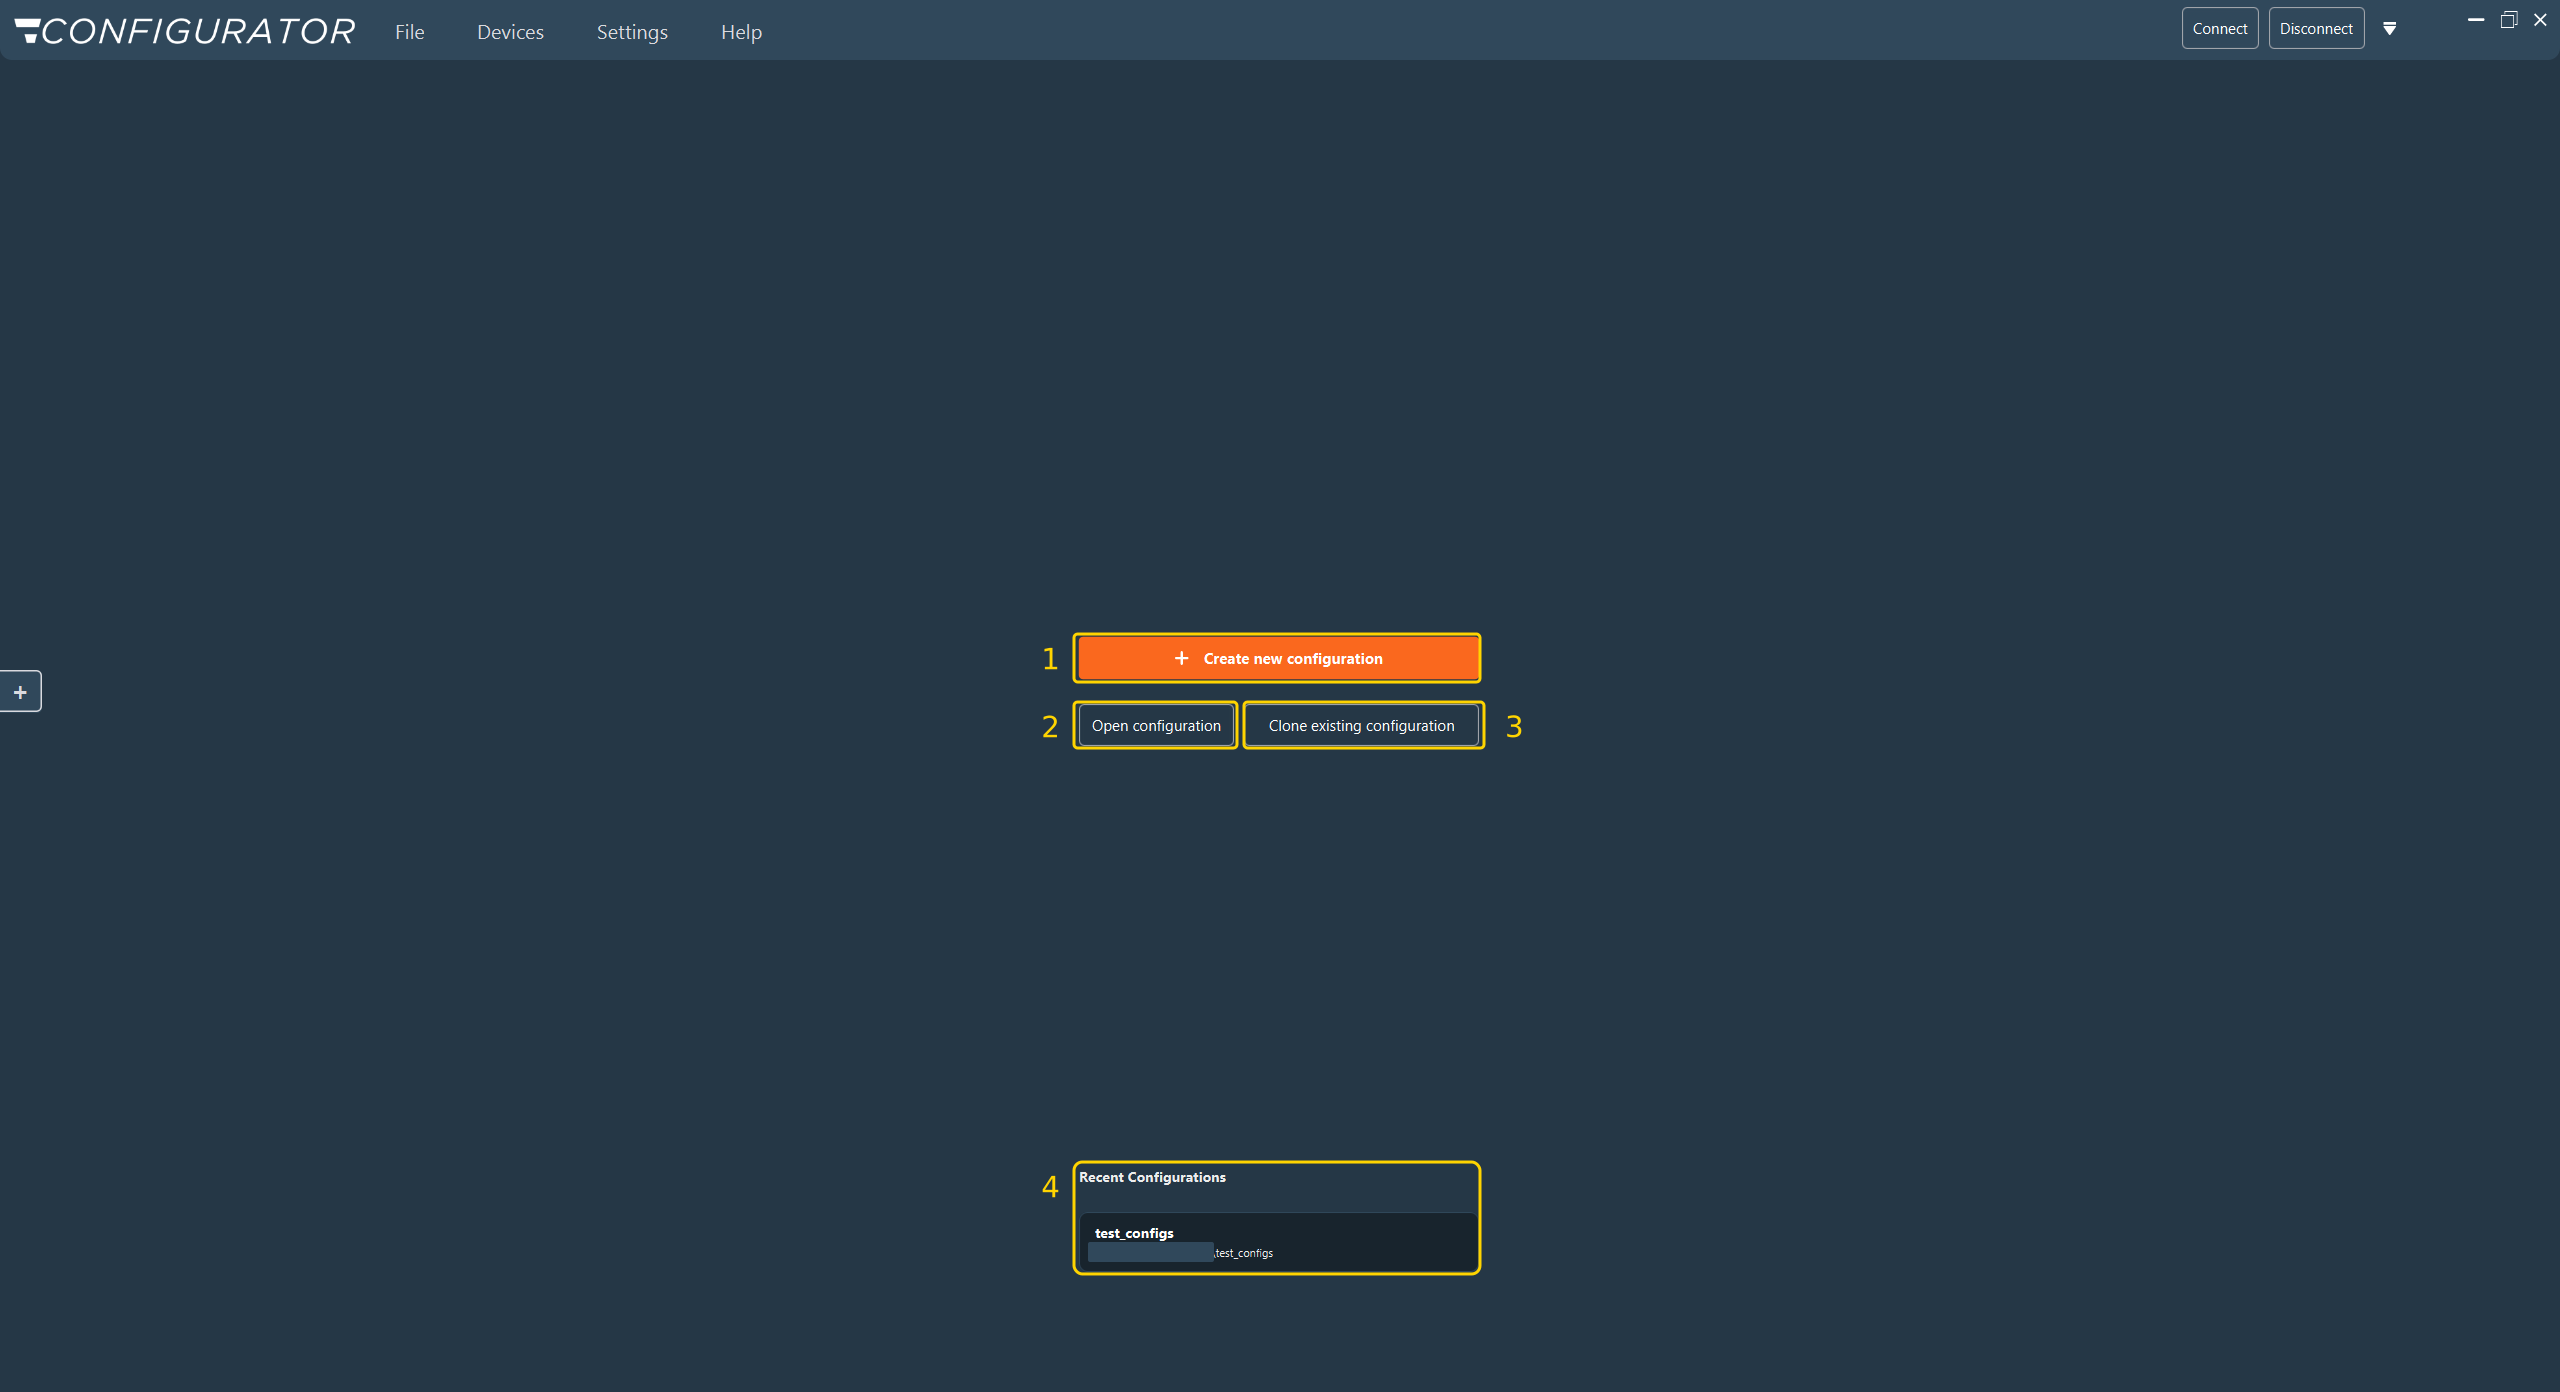
| To do this | Click |
|---|---|
| Start a configuration from scratch | Create new configuration (1) |
| Load a configuration that already exists | Open configuration (2) |
| Work on a copy, leaving the original untouched | Clone existing configuration (3) |
| Reopen one of the last three configurations | Its entry under Recent Configurations (4) |
Clone existing configuration opens the Clone Configuration window, which asks for the configuration to clone and, optionally, a folder in which to save the copy. See Cloning a configuration.
3. Build the configuration
With a configuration open, the main workspace shows the imported hardware on the left and the panel of the selected item on the right.
The setup wizard guides each newly imported device through a fixed sequence. The configuration view, built around the Imported Hardware tree, gives access to the same settings for any device in any order.
flowchart TB
    classDef stage    fill:#fff,stroke:#00a8cc,stroke-width:1.5px,color:#222,font-size:14px
    classDef free     fill:#fff,stroke:#5b9aa0,stroke-width:1.5px,color:#444,font-size:14px
    classDef endstage fill:#00a8cc,stroke:#00a8cc,stroke-width:2px,color:#fff,font-size:14px

    IMP["Import<br/>hardware"]:::stage

    subgraph WIZ["Setup wizard: repeated for each imported device"]
        direction TB
        W1["Configure"]:::stage
        W2["Set Connection"]:::stage
        W3["Turret<br/>configuration"]:::stage
        D{"Another<br/>device?"}:::stage
        W1 --> W2 --> W3 --> D
    end

    subgraph CV["Configuration view: any device, any order"]
        direction TB
        T1["Configuration Options"]:::free
        T2["Turrets"]:::free
        T3["Startup values"]:::free
        T4["Connections"]:::free
    end

    LAY["Imaging Software<br/>layout"]:::endstage

    IMP --> W1
    D -->|"Yes: next device"| W1
    D -->|"No"| CV
    WIZ -.->|"Skip All"| CV
    CV -->|"Next"| LAY

    style WIZ fill:none,stroke:#00a8cc,stroke-width:1.5px
    style CV  fill:none,stroke:#5b9aa0,stroke-width:1.5px,stroke-dasharray:5 4

    linkStyle 0 stroke:#00a8cc,stroke-width:1.5px
    linkStyle 1 stroke:#00a8cc,stroke-width:1.5px
    linkStyle 2 stroke:#00a8cc,stroke-width:1.5px
    linkStyle 3 stroke:#00a8cc,stroke-width:1.5px
    linkStyle 4 stroke:#00a8cc,stroke-width:2px
    linkStyle 5 stroke:#00a8cc,stroke-width:1.5px
    linkStyle 6 stroke:#5b9aa0,stroke-width:1.5px,stroke-dasharray:5 4
linkStyle 7 stroke:#00a8cc,stroke-width:1.5px- Import hardware. Open the hardware importation panel from the handle on the left edge, select the models present on the instrument, set how many of each, and import. See Importing hardware.
-
Follow the setup wizard. The setup wizard opens on import and presents the imported devices back to back. For each device, it runs only the steps that device requires:
- Configure: declare which functions of the device are in use. See Configuring a device.
- Set Connection: map each selected function to a port on the Device Controller. See Connections.
- Turret configuration: record what is mounted in each objective, filter cube, or filter wheel slot. See Turrets and filter wheels.
Click Next to advance. The wizard closes after the last device.
-
Complete what remains from the tree. Enter the startup values that the instrument applies when it initializes, and finish any step skipped in the wizard. In the Imported Hardware tree, an orange dot marks a missing startup value or turret slot, and a red connection icon marks a missing connection.
- Lay out the interface. Click Next at the bottom right of the window. The Configurator lists any outstanding items, then opens the Imaging Software layout stage, where you arrange the controls the end user sees.
Note
Skip Device and Skip All leave the wizard early without discarding any imported device. Every wizard step is also reachable from the Imported Hardware tree.
4. Save
Save with File > Save, Ctrl+S, or the Save button at the bottom right of the layout stage. The configuration takes the name of the selected folder, and the Imaging Software loads that folder.
Where to go next
- Interface reference: the main window, every menu command, and the application settings.
- Expert Mode: the additional settings exposed during commissioning.
- Troubleshooting: the messages most often encountered during an installation.