Interface Reference
This page describes the main window, the menu commands, the Device Controller controls, and the application settings. For the configuration workflow itself, see Get started.
The main workspace
The main workspace opens once a configuration is loaded.
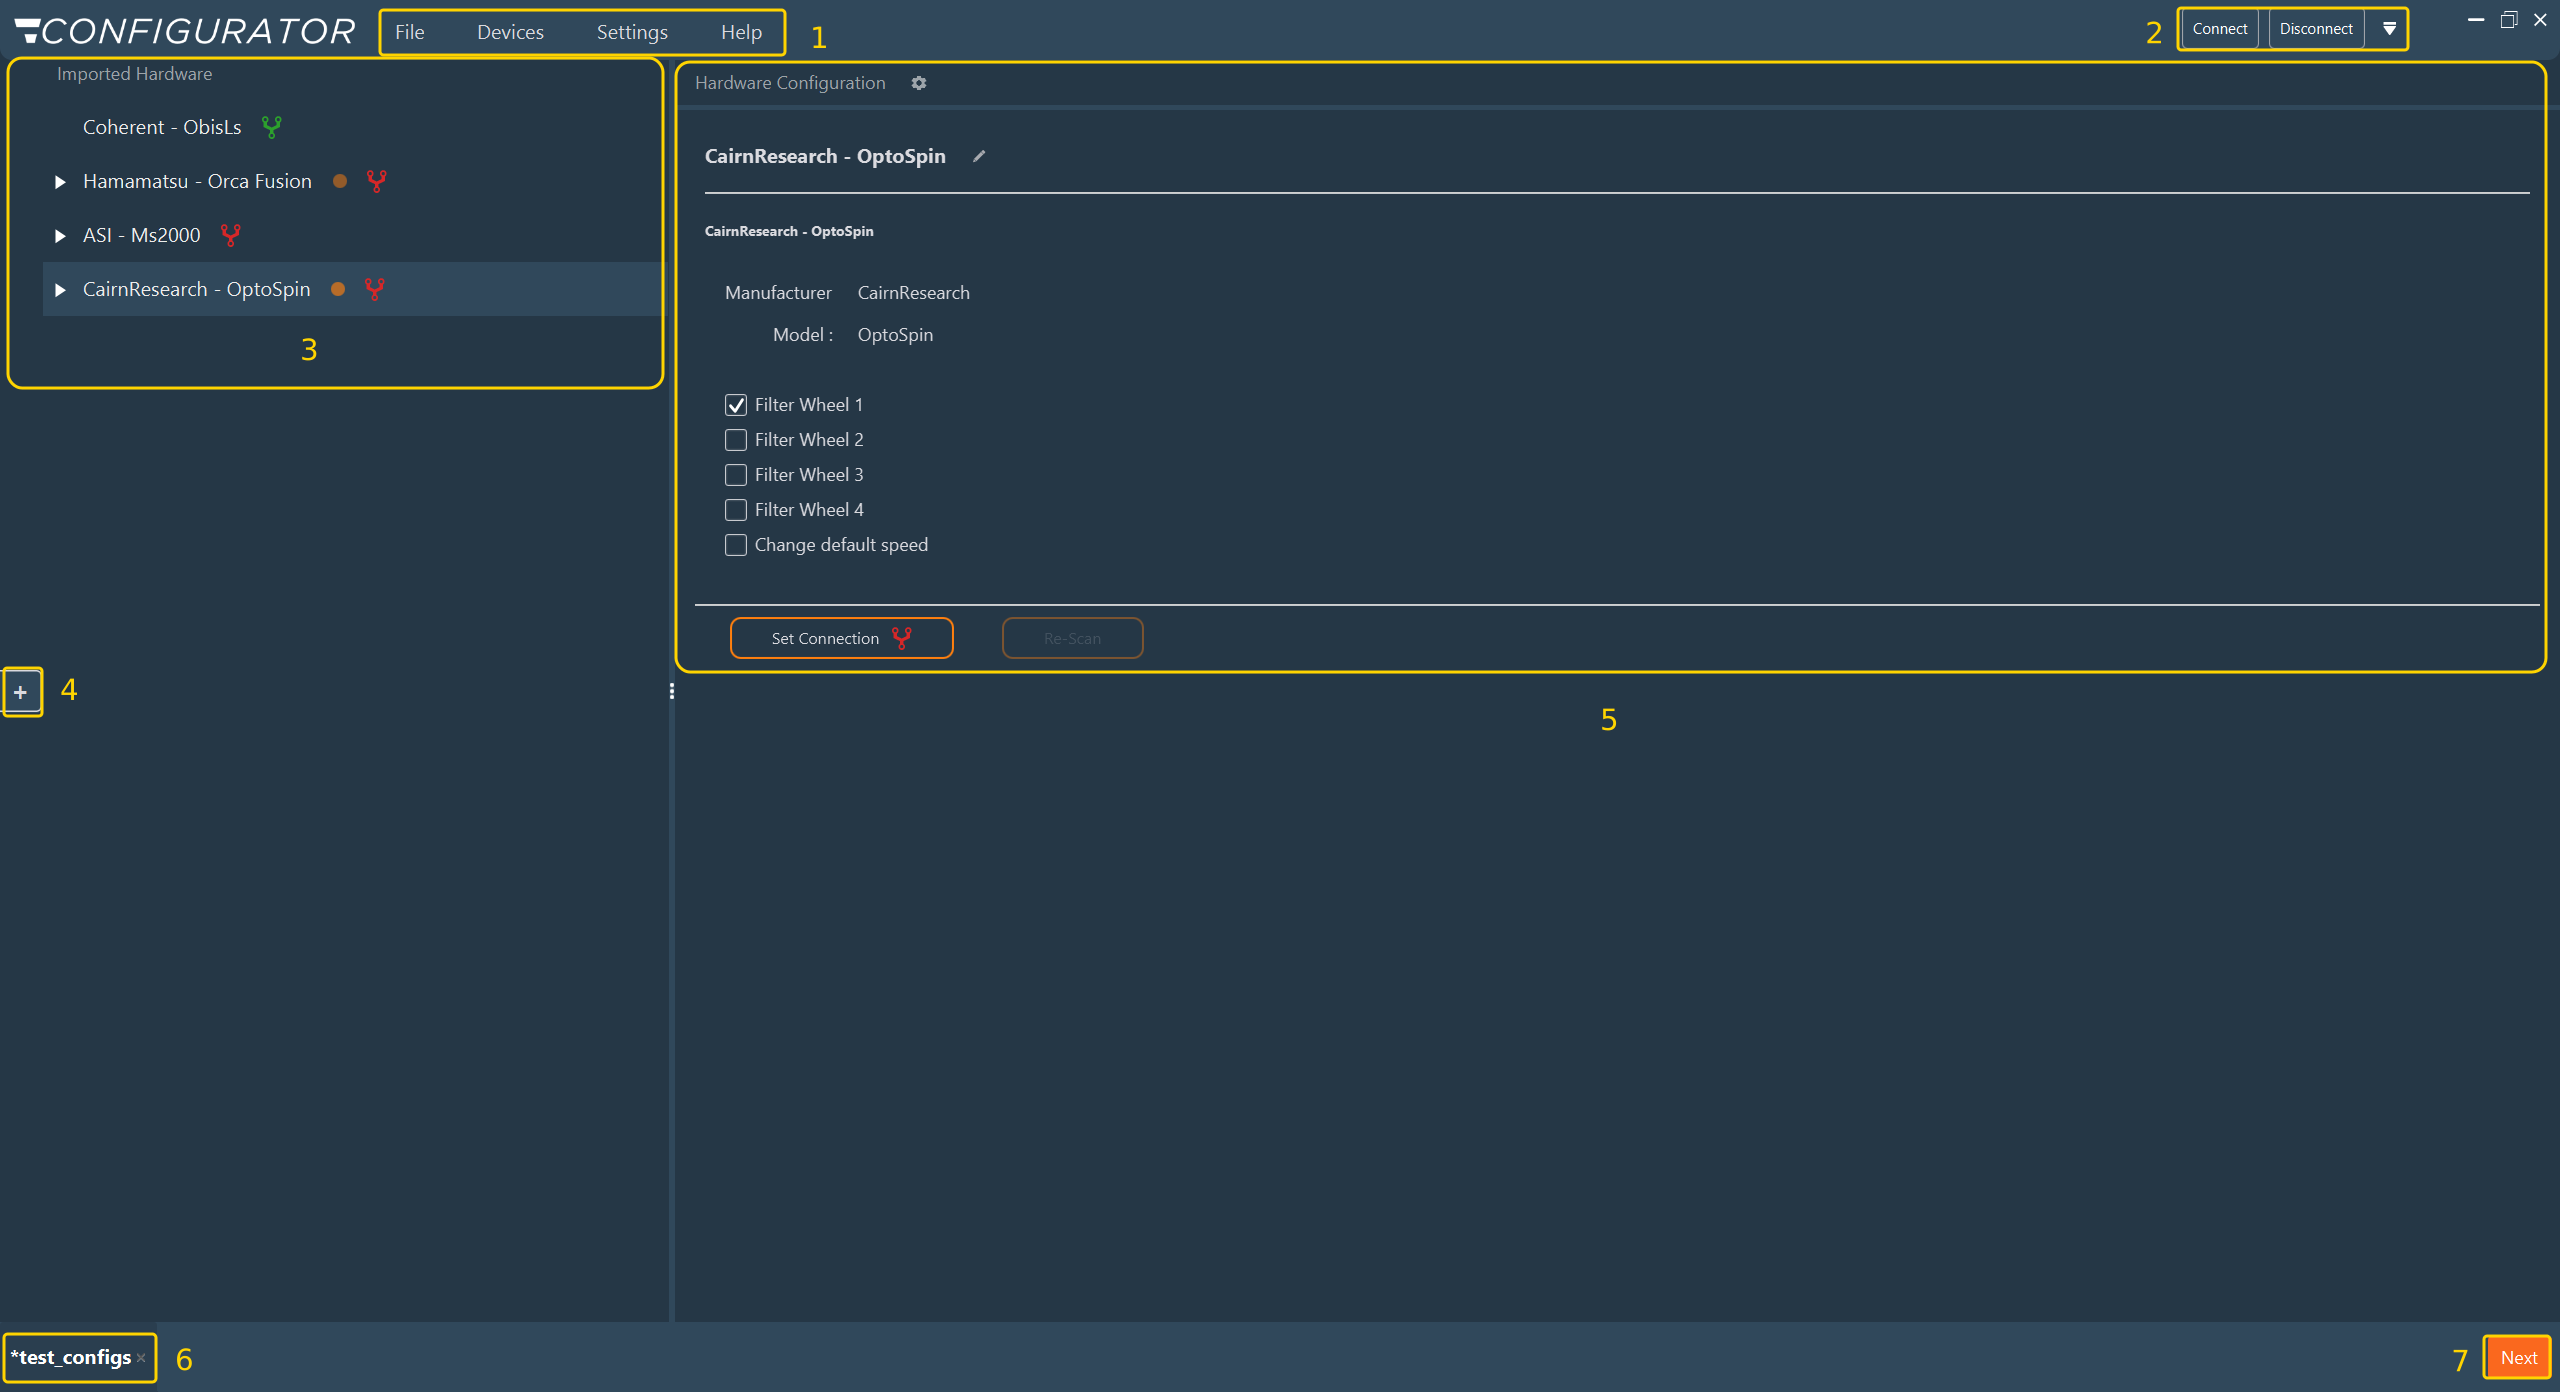
- Menu bar (1): File, Devices, Settings, and Help.
- Device Controller controls (2): Connect, Disconnect, and the drop-down menu described below.
- Imported Hardware (3): the tree of the devices in the active configuration. Expand a device to reach its function groups.
- Hardware importation handle (4): opens the hardware importation panel. The handle blinks while the configuration is empty.
- Hardware Configuration (5): the panel for the item selected in the tree. The gear icon in its header opens the Advanced Parameters window, with the Calibration and External Parameters tabs.
- Configuration tab (6): one tab per open configuration. A leading asterisk marks unsaved changes.
- Next (7): advances to the Imaging Software layout stage. Previous returns from it.
Menus
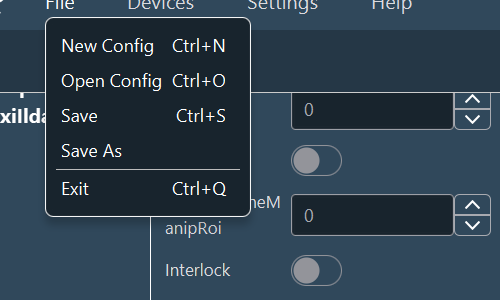
File
| Command | Shortcut | Action |
|---|---|---|
| New Config | Ctrl+N | Opens an empty configuration in a new tab. |
| Open Config | Ctrl+O | Opens a file browser to load an existing configuration folder. |
| Save | Ctrl+S | Writes the active configuration. If no folder is assigned yet, a file browser opens. |
| Save As | — | Writes the active configuration to a different folder. |
| Exit | Ctrl+Q | Closes the Configurator after confirmation. |
Devices
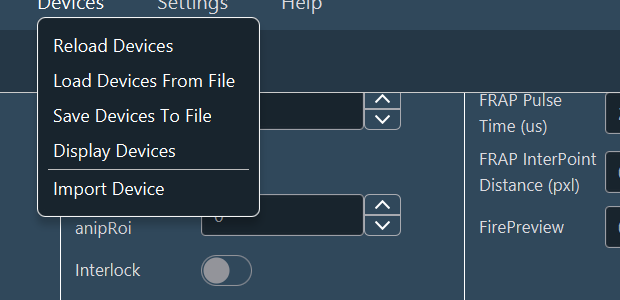
- Reload Devices: Reloads the hardware library from the Device Controller and from the external driver directories declared in the settings, then displays the number of drivers found per source.
- Load Devices From File: Reads a stored hardware library. Use this to work without a Device Controller.
- Save Devices To File: Writes the current hardware library to a local file.
- Display Devices: Displays the hardware library summary again.
- Import Device: Opens the hardware importation panel, as does the handle on the left edge of the window.
Settings
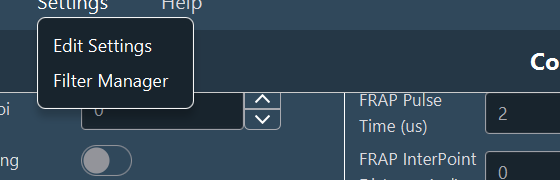
- Edit Settings: Opens the settings window described below.
- Filter Manager: Opens the optics library, where optical filters and dichroics are defined with their transmittance and reflectance ranges. The elements defined here are offered when a filter cube or filter wheel slot is filled in.
Help
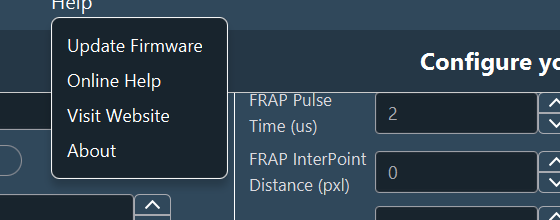
- Update Firmware: Opens a file browser to upload a firmware file (
.bin) to the Device Controller. - Online Help: Opens the Inscoper user guides.
- Visit Website: Opens the Inscoper website.
- About: Displays version information for the Configurator, the Inscoper API, and the firmware.
Device Controller controls
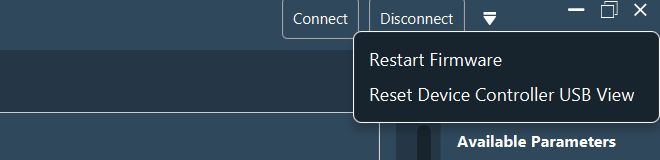
| Control | Action |
|---|---|
| Connect | Establishes the connection with the Device Controller and loads its hardware library. |
| Disconnect | Terminates the connection. |
| Restart Firmware | Reboots the Device Controller firmware. |
| Reset Device Controller USB View | Rescans the USB devices attached to the Device Controller. |
Example
Use Reset Device Controller USB View after plugging in a device while the Configurator is already open, so that the new unit appears in the USB configuration table.
Application settings
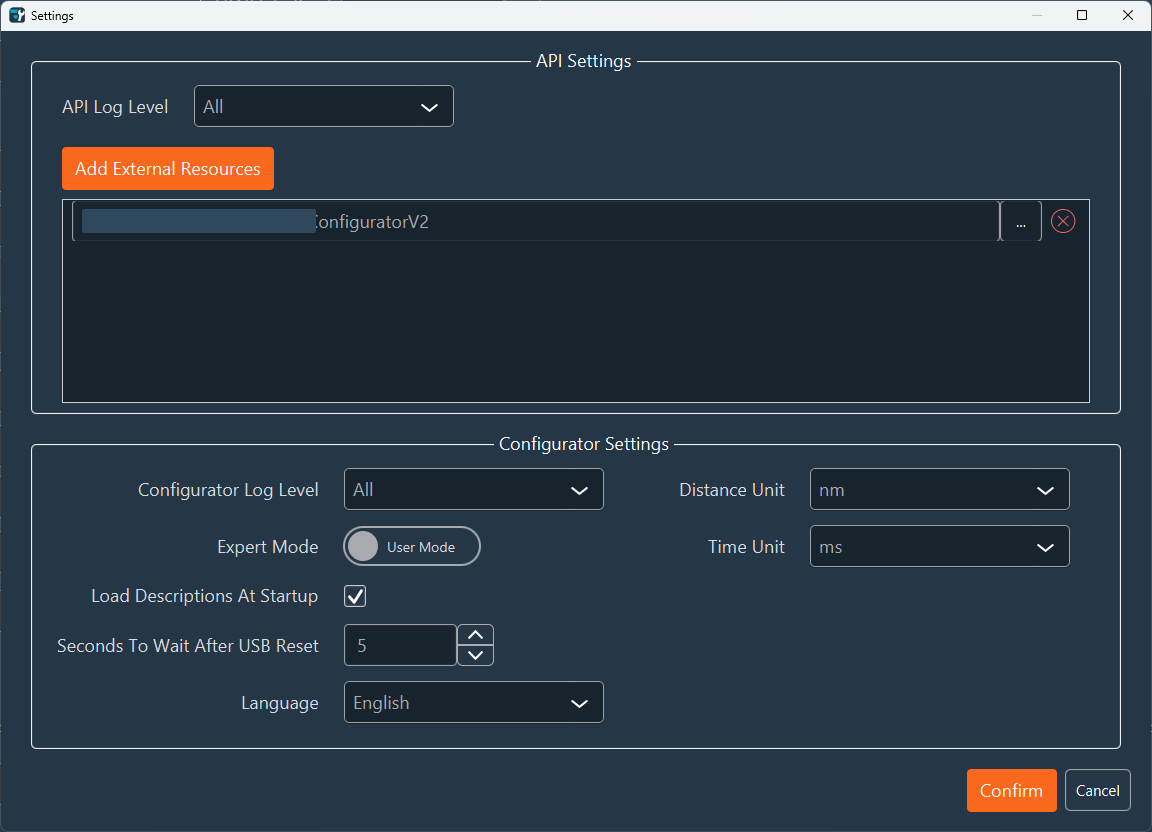
Open the settings window with Settings > Edit Settings. Settings apply to the application, not to an individual configuration. Click Confirm to apply and save them.
API Settings
| Setting | Description |
|---|---|
| API Log Level | Verbosity of the Inscoper API log. |
| Add External Resources | Adds a directory that holds external driver libraries, such as Micro-Manager or vendor DLLs. Click … to browse for the directory, and the red cross to remove it. |
| Add Diag File | Loads a stored diagnostic file. Visible in Expert Mode only. |
Configurator Settings
| Setting | Description |
|---|---|
| Configurator Log Level | Verbosity of the Configurator log. |
| Expert Mode | Switches between User Mode and Expert Mode. See Expert Mode. |
| Load Descriptions At Startup | Loads the hardware library automatically when the application starts. |
| Seconds To Wait After USB Reset | Delay, in seconds, between a USB rescan and the reading of the port list. Default: 5. |
| Language | Interface language. |
| Distance Unit | Unit used for distances, such as stage and focus positions. |
| Time Unit | Unit used for durations, such as exposure times. |
Warning
Distance Unit and Time Unit set the unit in which values are displayed and entered. The active unit appears in parentheses after each parameter name; check it before typing a value. After switching units, verify the startup values of the affected devices.